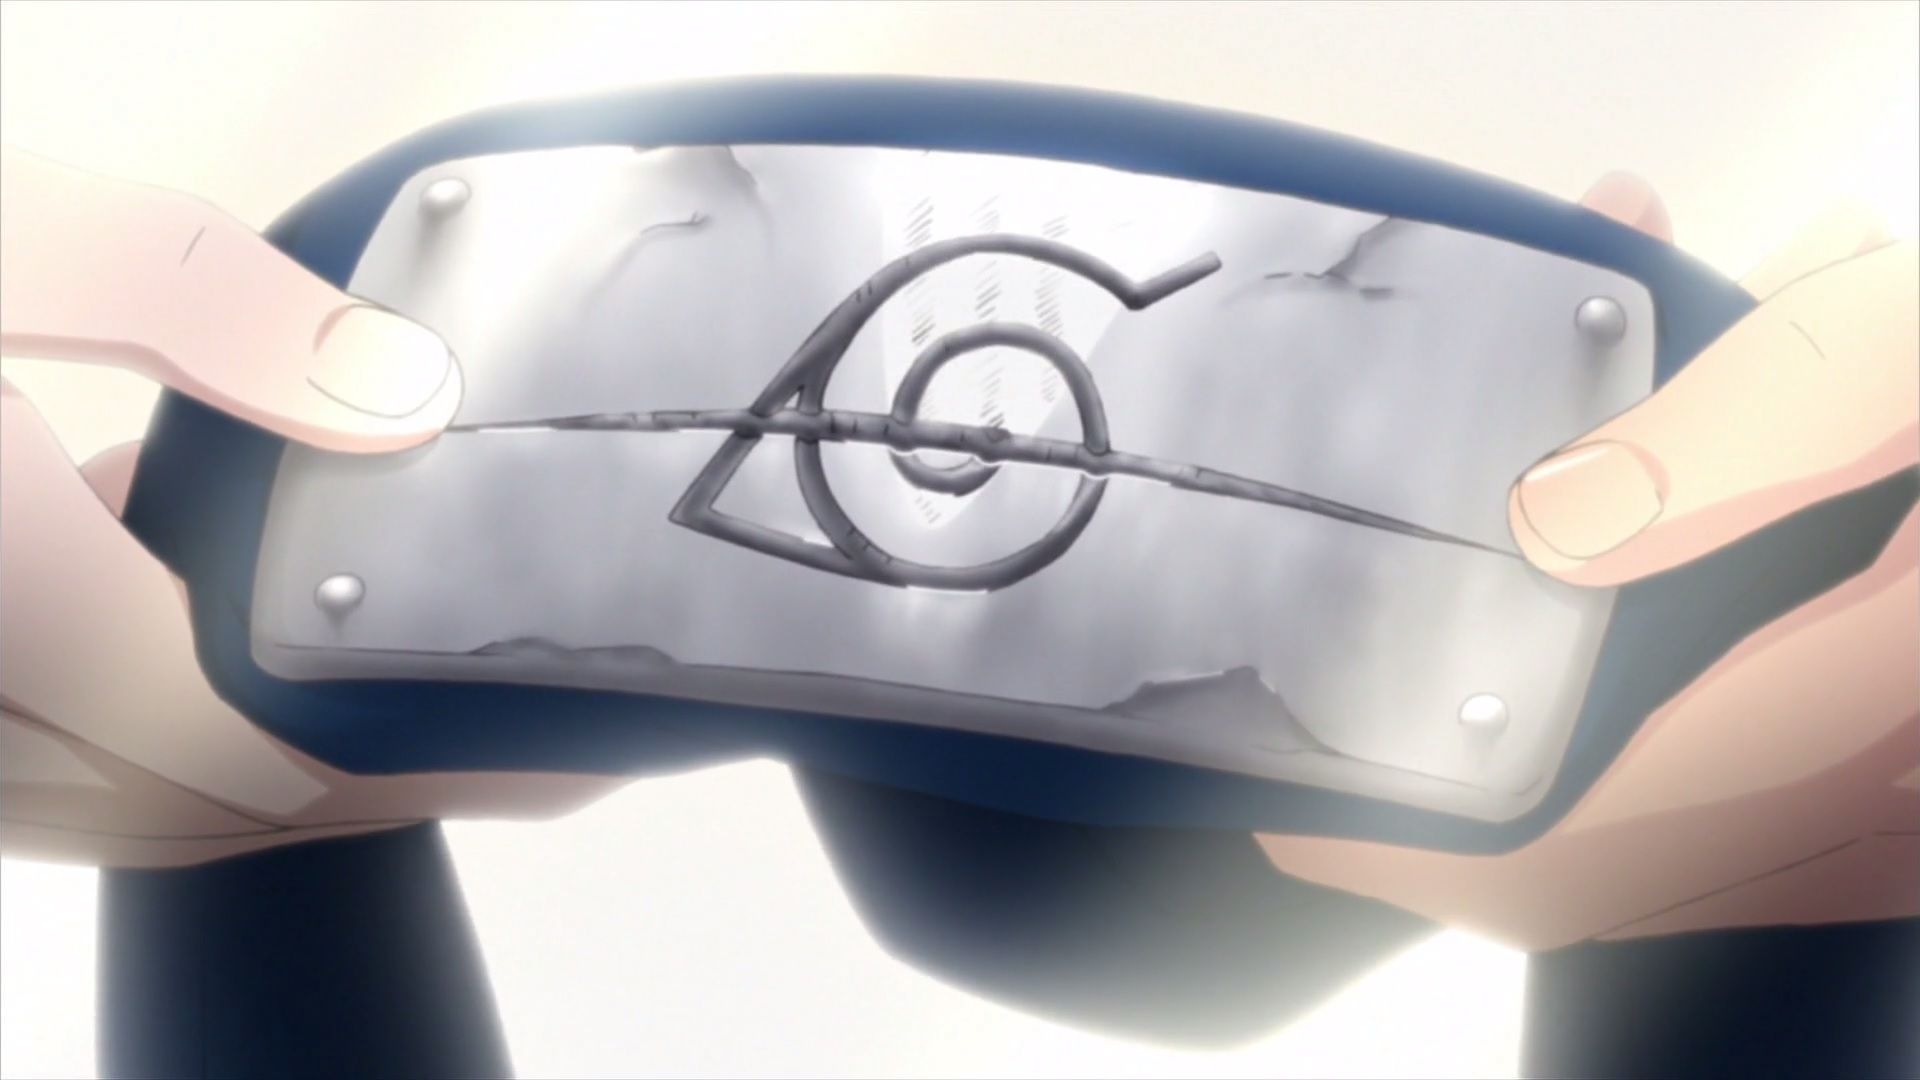
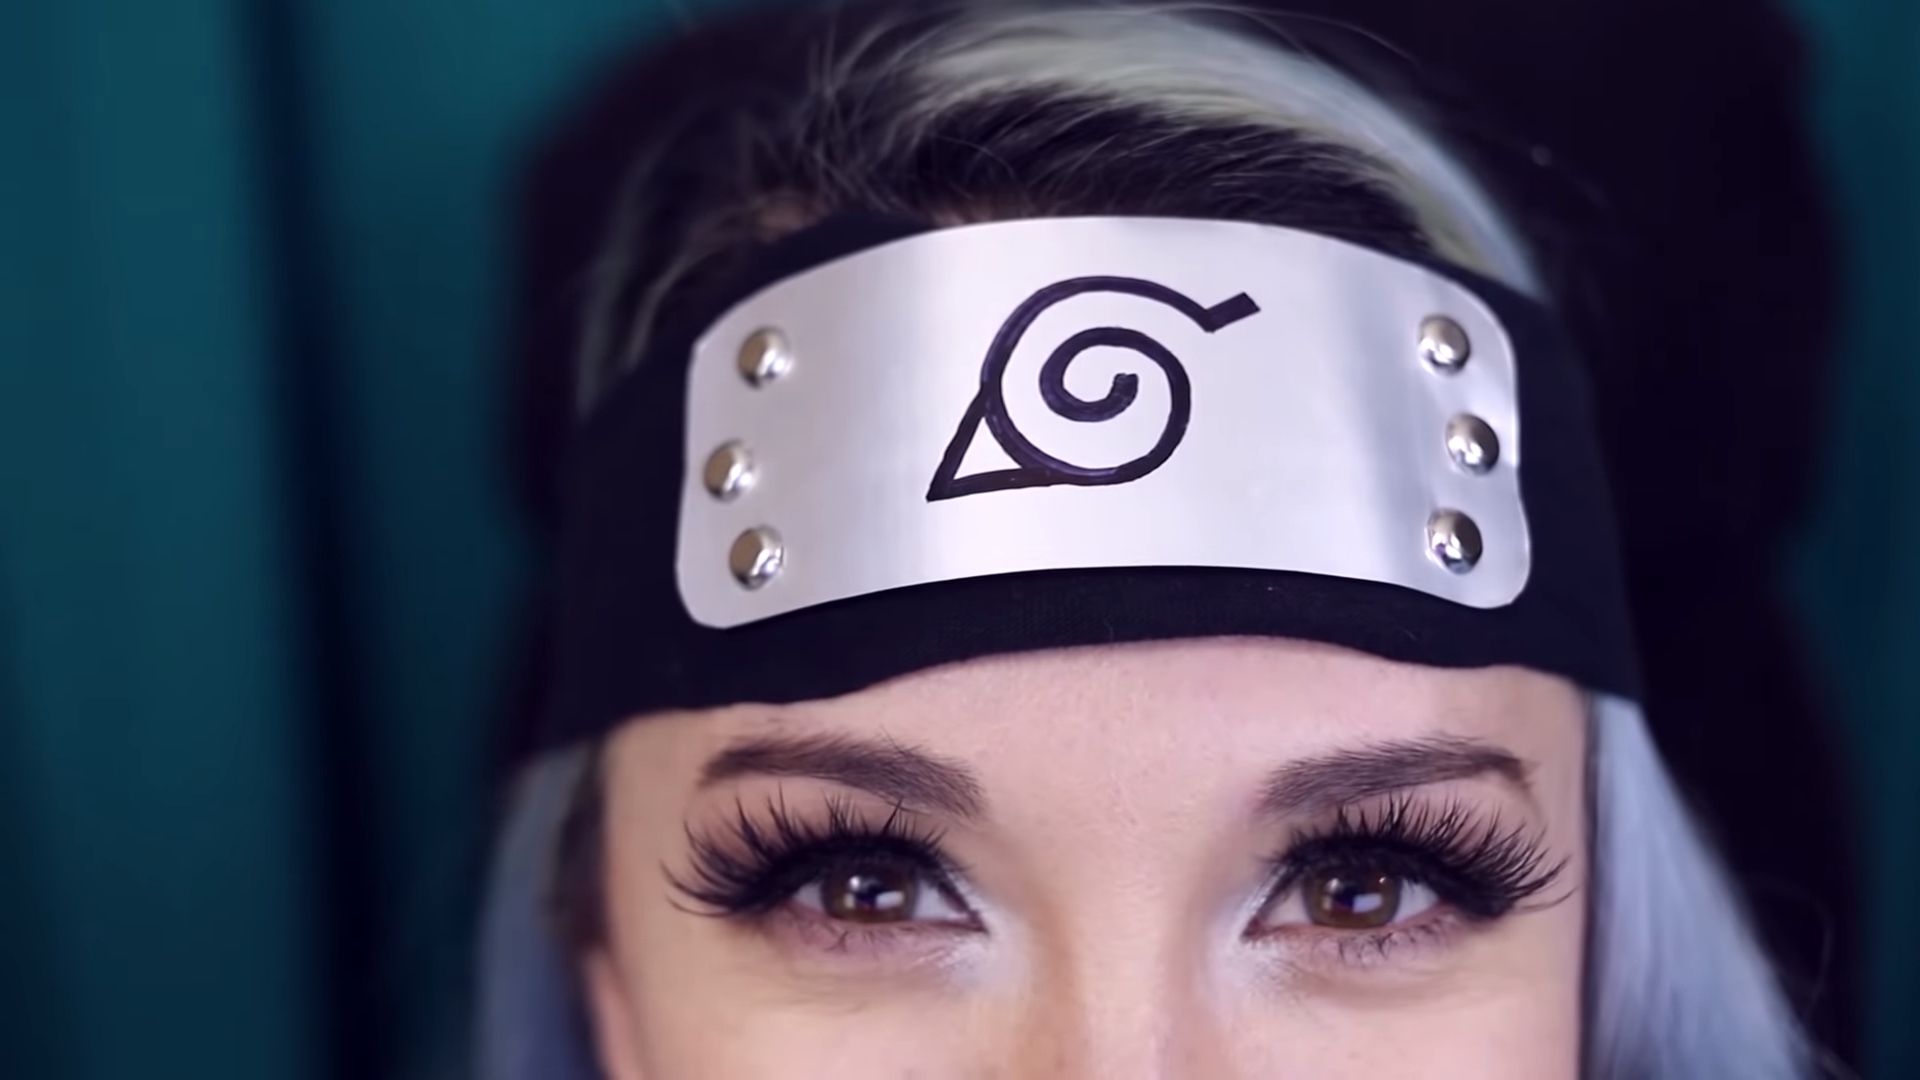
Ever wanted to cosplay someone and spent hours perfecting the details only to realize at the very end that you forgot something important? Well, one of the most iconic pieces of gear in any Naruto cosplay would be the headband. Most characters have one, even the villains, albeit theirs have the added cut across the center. If something like that has happened to you, or maybe you just feel like having a Naruto headband lying at home, then you've come to the right place. This is a step-by-step guide and tutorial on how to make a headband of your own choosing to wear whenever you wish (big thanks to Hendo Art, whose tutorial is used for images here).
10 10. What You Will Need
The following items are required to begin this tutorial; a Blue cloth (for the base), an empty soda can (for the top), a printout of the headband top (for drawing), scissors, sandpaper, paper fasteners (brads), glue (for fixing top to base), markers/paint (for coloring), stationary set (for tracing the insignia), measuring tape or metre rule (for measurements) and a sewing kit (to attach brands).
Take proper safety precautions as well by keeping a first aid kit nearby, using gloves or employing the help of a trusted individual. After all, this DIY kit requires the use of sharp edges such as scissors or other cutters.
9 9. Find/Buy A Blue Fabric
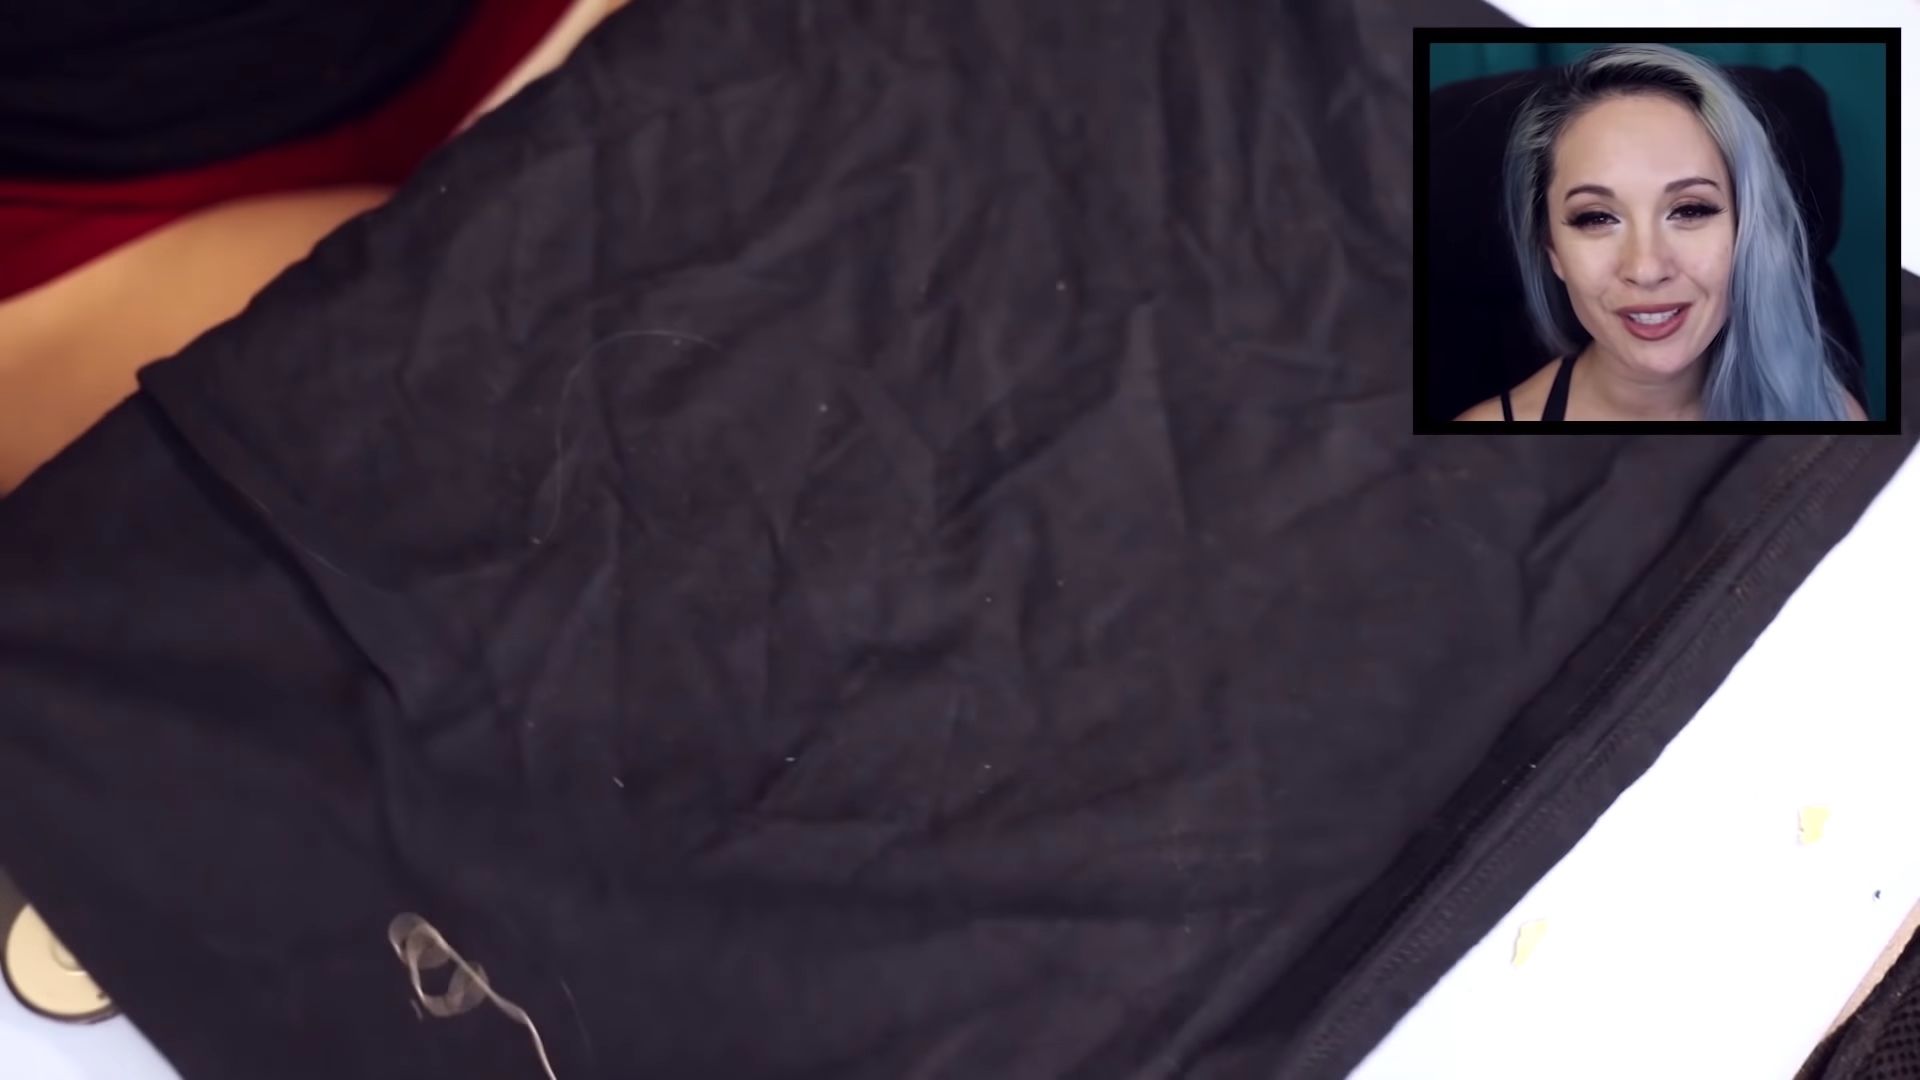
The length of the fabric you need should be about 36 inches so that there is enough for you to tie around your head or waist.
The material can be of your choice. Preferred fabrics such as jersey knit, faux leather, or vinyl may be used but are not compulsory and the recommendation for those with a budget would be knit fabric (for its low cost and ease of availability as compared to the others).
You can also use fabrics such as cotton, linen, rayon, or nylon if you find them more suitable but these fabrics tend to easily fray.
8 8. Cut (And Sew) A Strip
The strip length can be as much as you like but it should be about 3 inches wide and long enough to cover your head and then tie a knot. A good idea would be to take precise measurements of your head before cutting the fabric to know what length you would need.
Be sure to cut the edges straight, and in case you are using a fabric that is easily frayed, it is important to use either a sewing kit to sew the edges or a fabric spray such as starch to stiffen the cloth and prevent it from fraying easily.
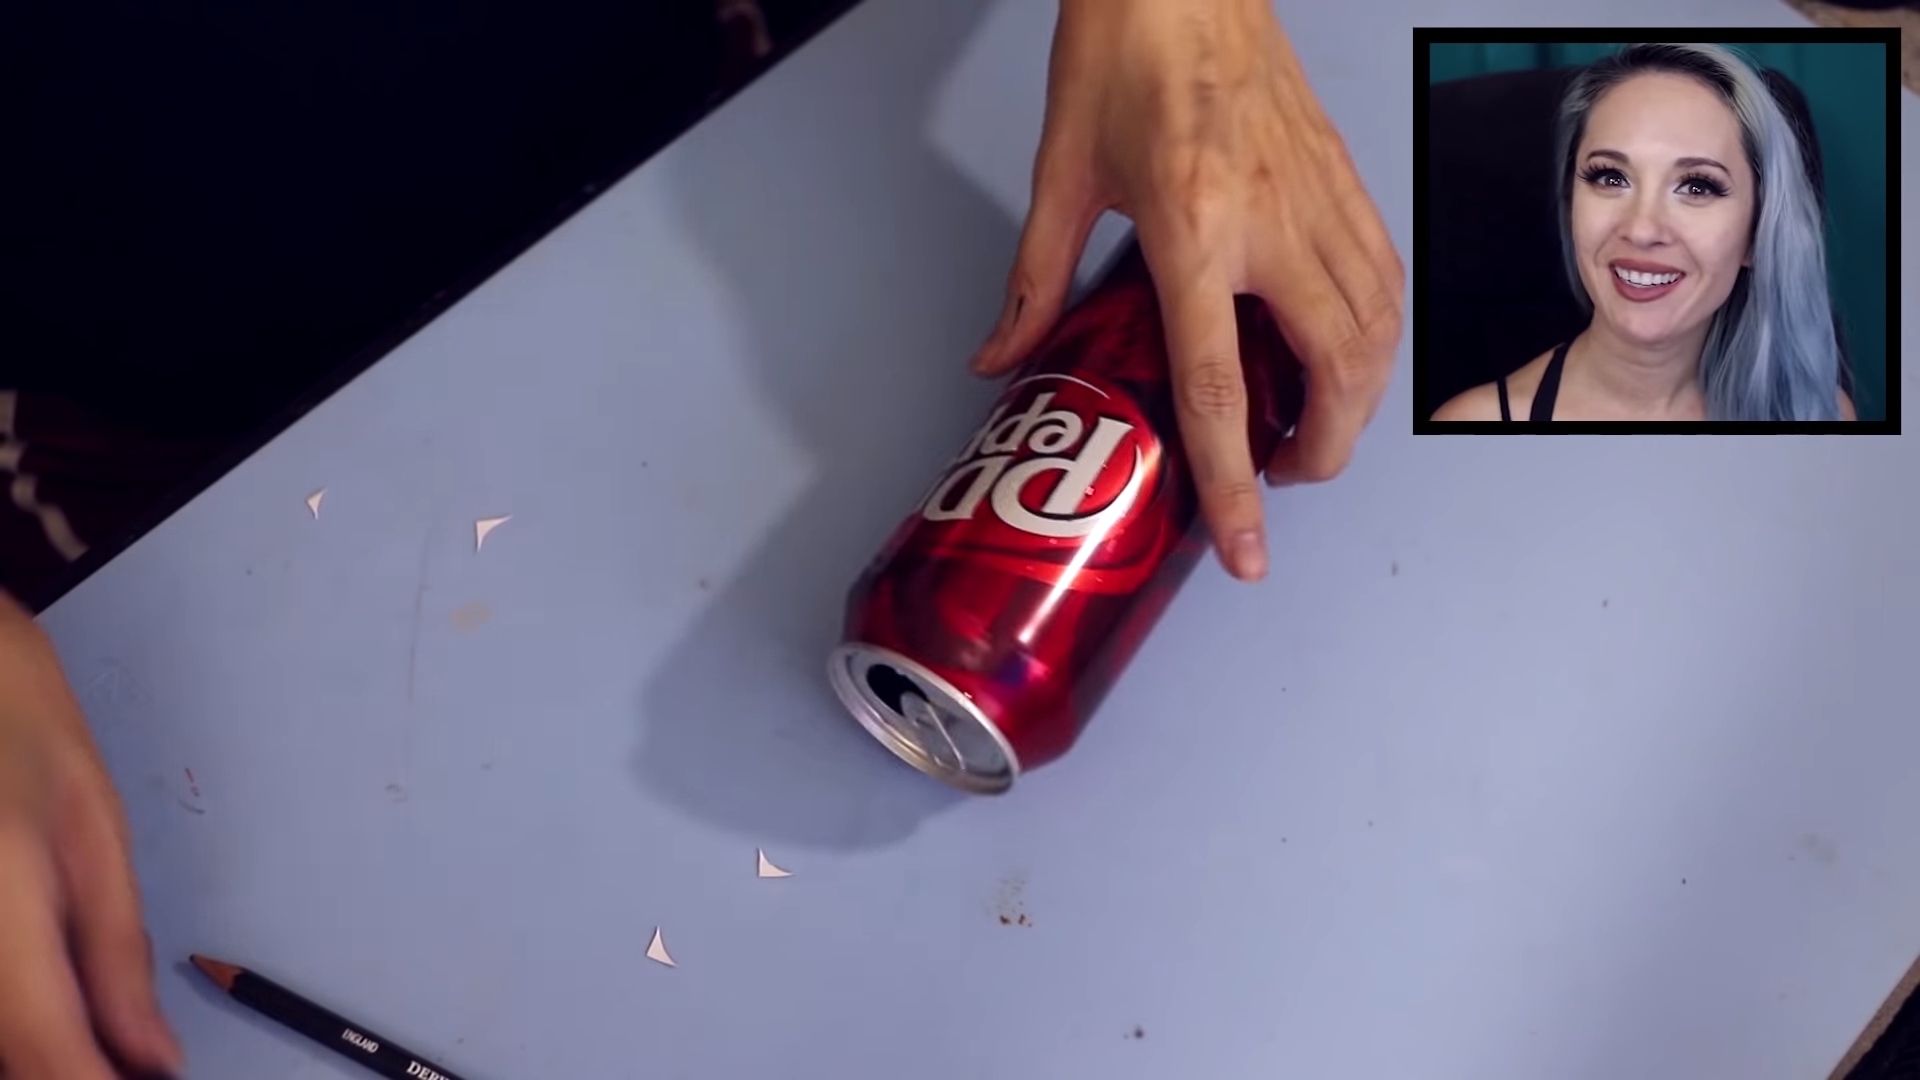
7 7. Cut An Empty Soda Can
Buy and finish a can or use an already empty, but not crumpled, can and dry it out.
You can choose the can to be of any kind, but it’s better to purchase something large or long so that you have the maximum amount of material to work with and enough to compensate for errors. This choice is purely based on your judgment.
Cut off the bottom and top to get a hollow cylinder. Be sure to be careful as the edges are sharp can injure you. Cut straight down one side to get a curled rectangular shape.
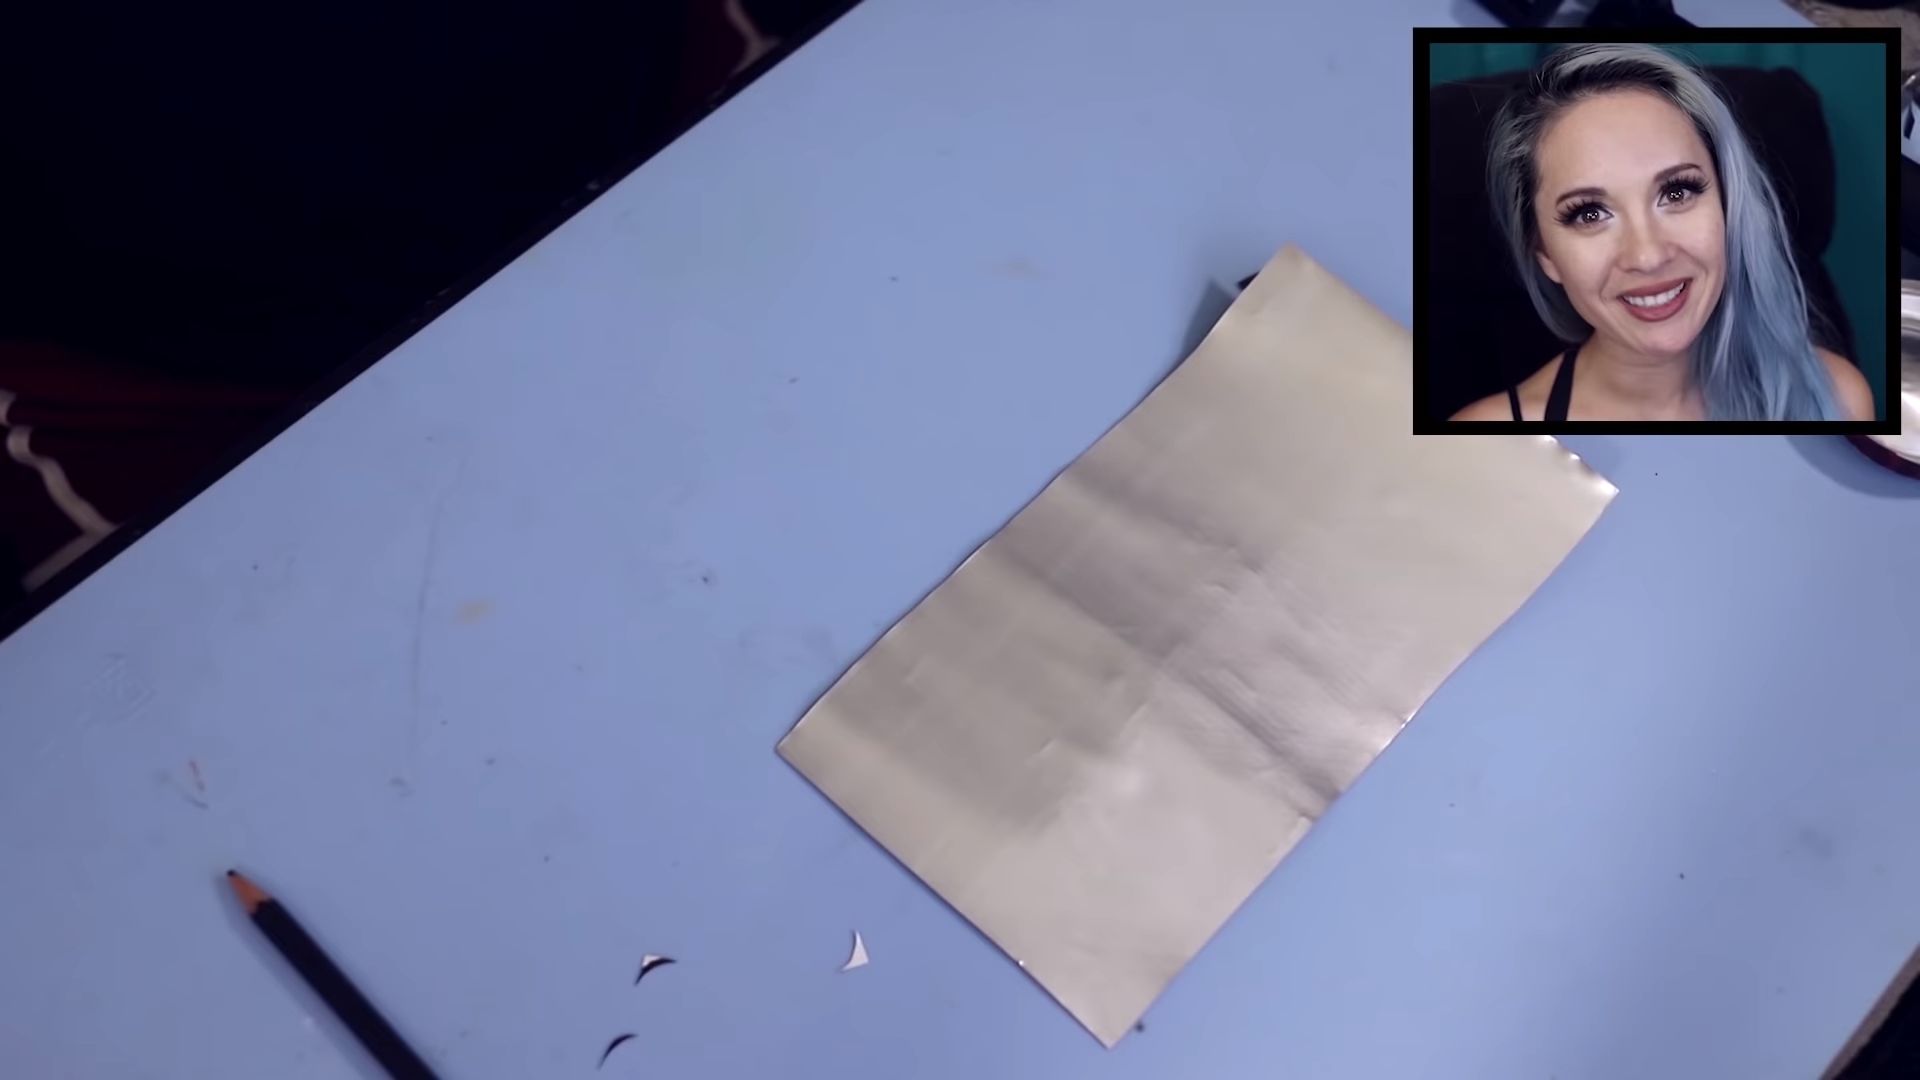
6 6. Straighten Out
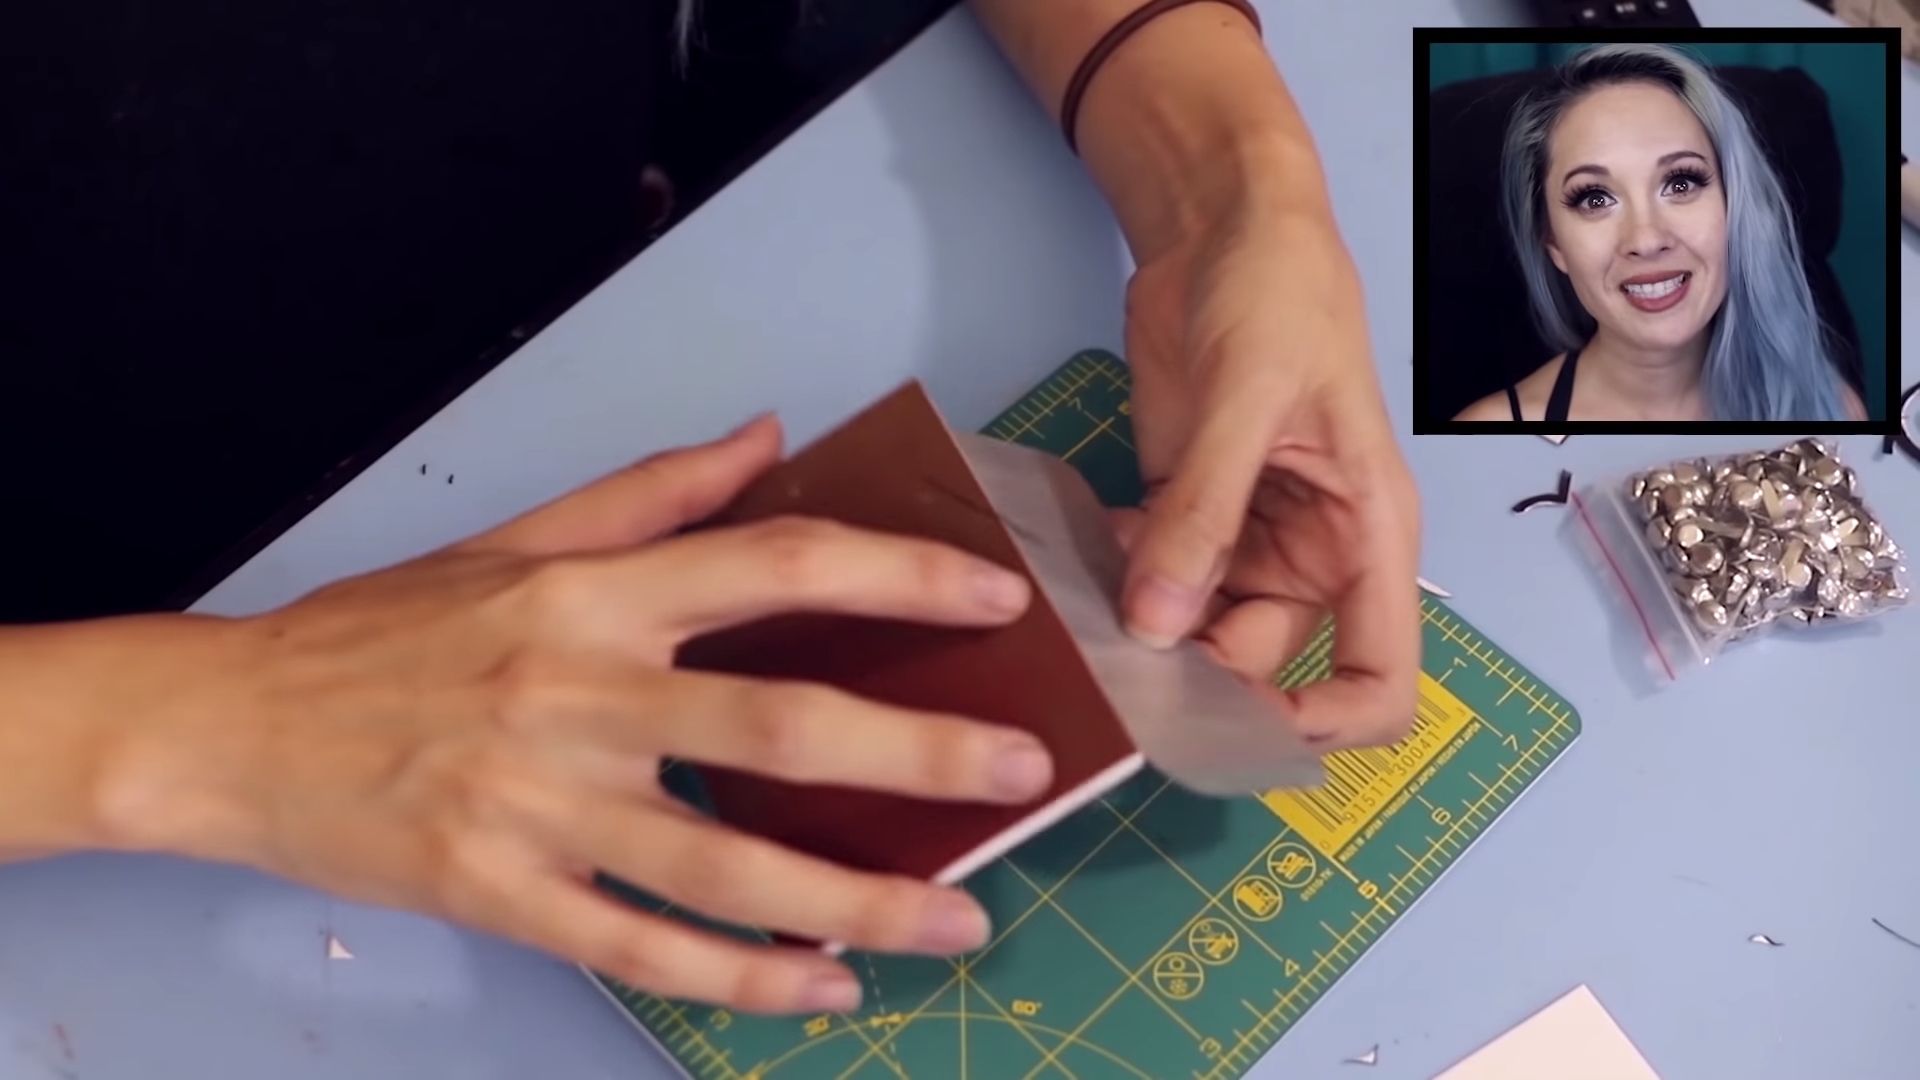
Place something heavy on the rectangle to help it bend into a proper flat shape. A good recommendation would be to use a big book as most people will have one lying around the house.
You can also roll it into a cylinder backward to allow the shape to flatten. This can be done by wrapping the aluminum around anything cylindrical and keeping it in place using a rubber band. Be sure not to roll too tightly, otherwise it won't flatten out.
5 5. Create A Template
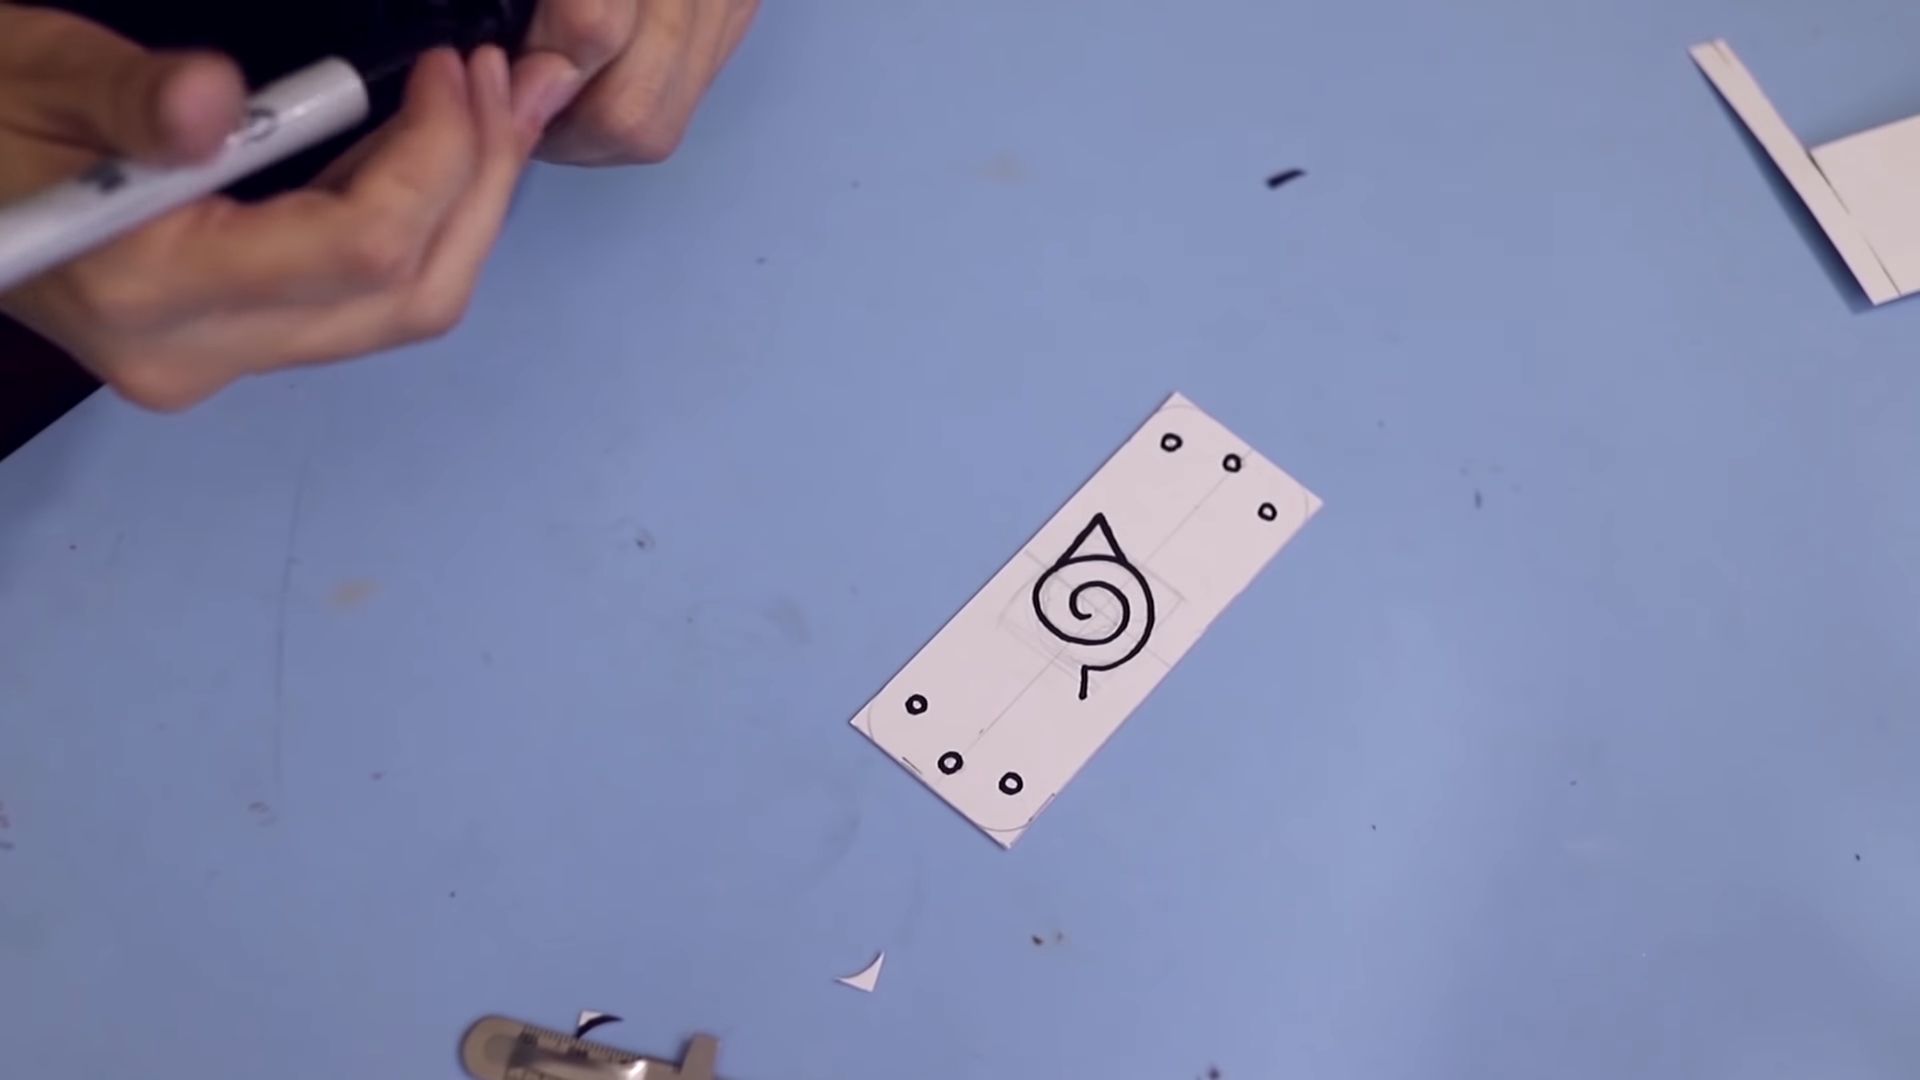
Print out the design of the headband, or draw it yourself. The most important parts are the outlines of the insignia, corner bolts, and the headbands boundary, as well as the symbol itself, of course!
Now create a template by carefully cutting out the edges of the metal plate, and cutting out the symbol itself, so that you have the correct size, shape, and an outline of the symbol cut out in the center. This will be used to trace the shape onto the metal, so make sure that symbol is absolutely perfect! An exacto knife is easier to use than scissors for this step.
4 4. Drawing The Symbol Onto The Metal
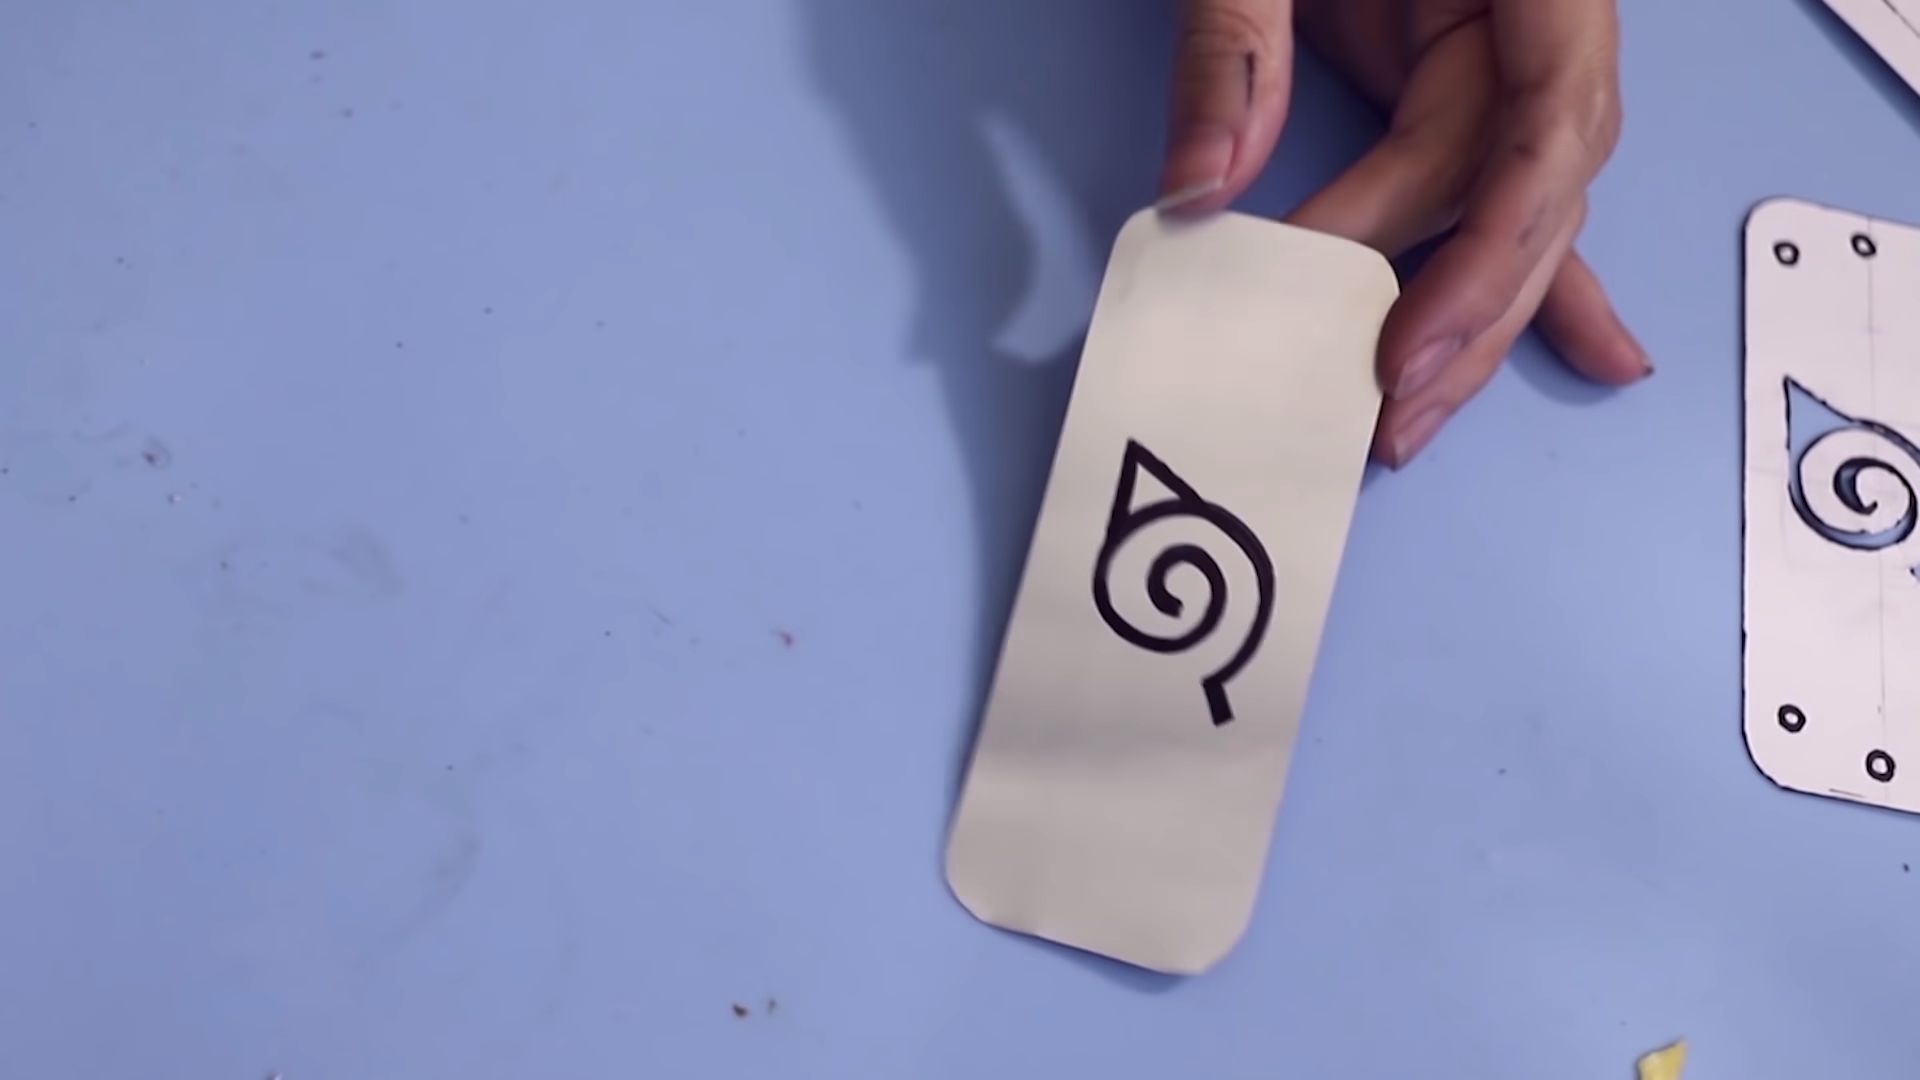
Place your template over the flattened can, and tape it in place (it's important that it doesn't move around during this step.
Now carefully use a fine tip marker to fill in the image. You can also opt for other spray paint or acrylic paint. Spray paint has the advantage of an even color and the shade can be adjusted with the number of layers added to it, but it's a little more time consuming than pen. Spray paint also means that the template has to be tightly fixed to make sure the edges are clean.
3 3. Smooth Around The Edges
Use the scissors to cut out the shape, using the edges of the template as a guide. Don't toss the template, though, we're not quite done with it.
Hold the rectangular piece firmly, but don’t grip it too tight, otherwise it may form creases that are either permanent or very difficult to remove. Then, you can sand the edges smooth. Some prefer to fold them in, but it can be tricky to make this even all the way around.
2 2. Inserting Brads
Using your template to make sure you have the right spots, use a needle to make a small hole for each of the brads (the three smaller circles on each end). A toothpick, or even a sharp pencil can also be used - anything small and sharp enough to poke a small hole through the metal will do.
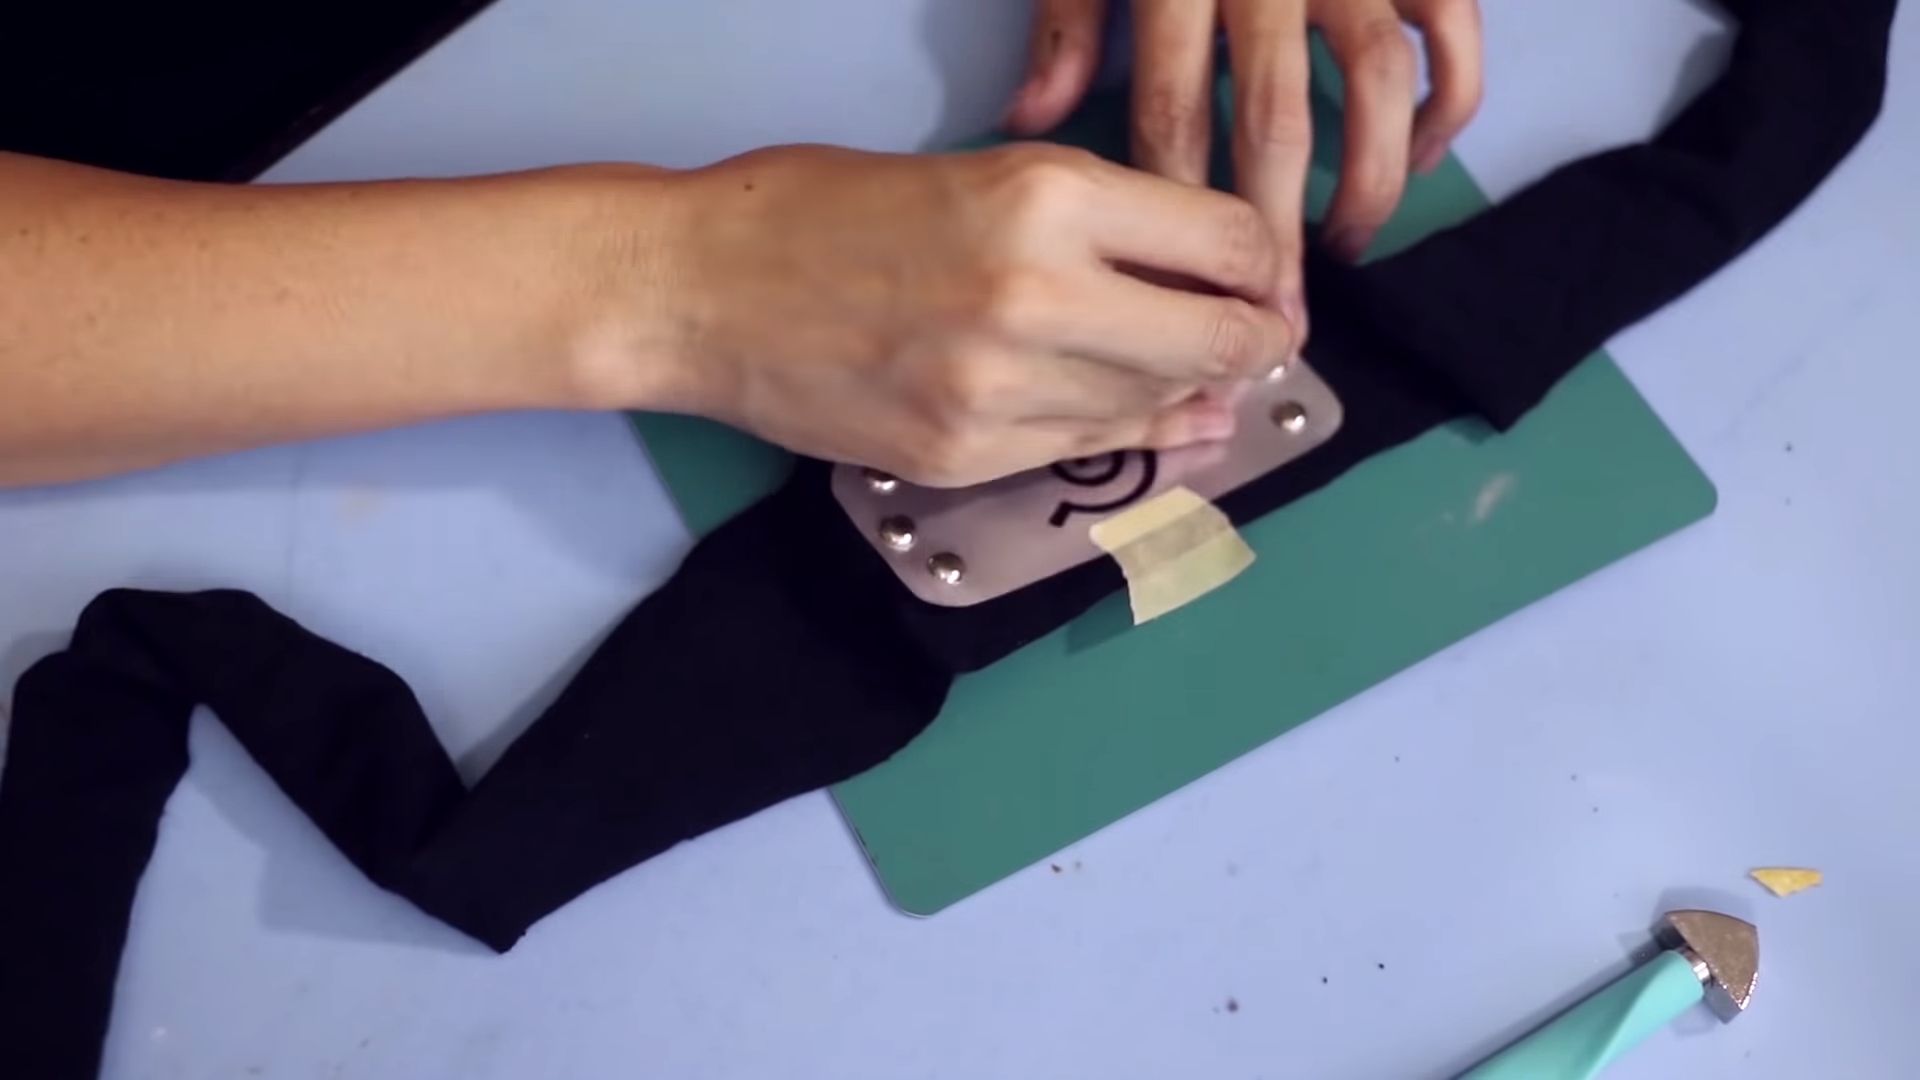
Use metallic brads and carefully push them through the holes. Fold the legs out on the back to make it smooth, of course.
1 1. Finishing Touch
Use a strong glue like gorilla glue, and stick the rectangle to the cloth. It's a good idea to wear gloves for this, to avoid skin irritation.
Wait for the glue to properly dry and check whether it is attached firmly. Wear the band with pride or fun and show off to your friends and family!

