WARNING: The following contains spoilers for the Star Wars: The Bad Batch Season 1 finale, "Kamino Lost," now streaming on Disney+.
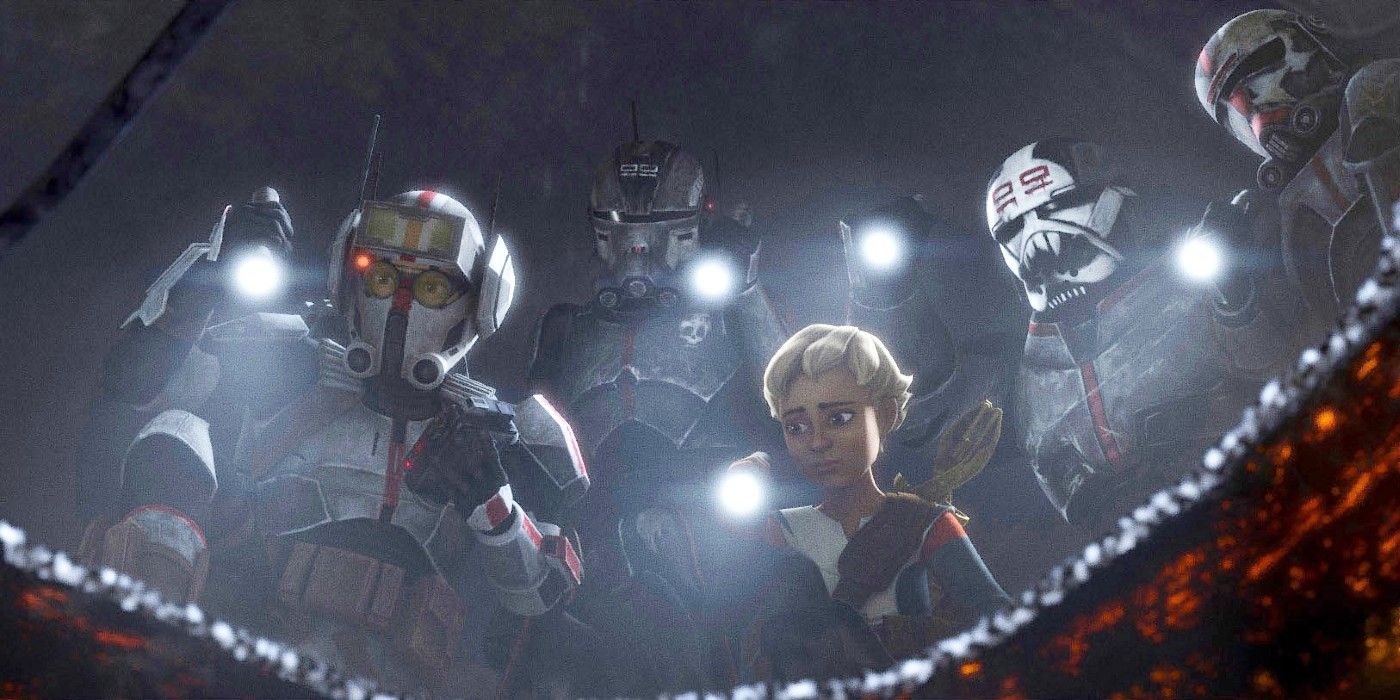
The Bad Batch's Season 1 finale, "Kamino Lost," picks up right where the penultimate episode left things, with Admiral Rampart's fleet firing down upon Tipoca City and incinerating what remains of the Kaminoans' cloning facilities. As the platform plunges into the watery depths below, the facility's compartments begin closing off to prevent further flooding, separating Omega, AZI, and Crosshair from the others. With Crosshair trapped beneath a piece of debris and the water levels rising, Omega works furiously to save him from drowning, using her crossbow to set him loose. Luckily, Wrecker manages to manually open the compartment door separating them, allowing the three to reunite with the rest of Clone Force 99.
Tech, stating the obvious (but helpfully so), informs the others they need to get topside before the entire structure submerges in Kamino's oceans. As they set off, however, Omega pauses to watch the nearby facilities as they sink and burn, clearly affected by the sight of the place she once called home being reduced to nothing but rubble. Of course, that doesn't stop Tipoca City from reaching the bottom of the ocean any faster, nearly sending Hunter and the gang falling to their deaths as it flips on its side on the way down. Once everything settles, Crosshair begrudgingly follows the others into their former barracks, which is one of the only remaining habitable compartments.
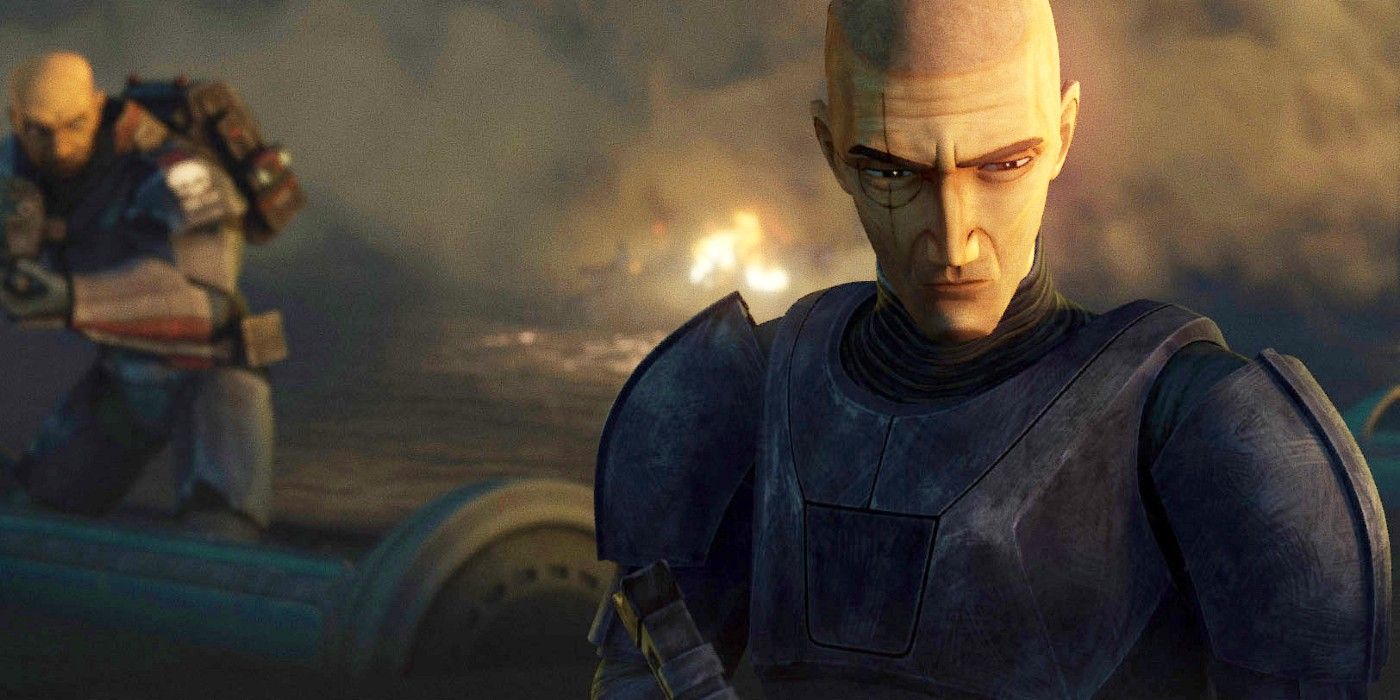
Wrecker barely gets a moment to wax nostalgic at the sight of the wall tallying Clone Force 99's old missions before Hunter and Crosshair are at each other's throats (only somewhat figuratively), verbally sparring over what to do next. “Soldiers follow orders,” Crosshair growls at Hunter, reminding everyone that he's not, in fact, being controlled by his inhibitor chip. “Blind allegiance makes you a pawn,” Hunter fires back. “A real leader protects his squad.” Thankfully, while that's going on, Omega does something actually useful and discovers the facility landed on top of the underwater tunnel, allowing them to access it from the platform's maintenance deck.
AZI, who makes a precise weld to sustain an airtight seal between the deck and the tunnel, confirms the latter is clear for now, even as its glass begins to crack. As they take off, Wrecker joins Hunter in scolding Crosshair for abandoning his team, arguing he and the others would have accepted him back into the fold. Tech wards him off, telling Wrecker Crosshair is "severe and unyielding" by his nature and cannot change that. (“Understanding you does not mean that I agree with you,” Tech informs Crosshair when the latter asks why he’s defending him.) Once again, though, their debate gets put on hold when a new threat emerges, this time in the form of an underwater monster who attacks the tunnel now that its power is down.
The giant creature chomps down on the tunnel before AZI gets the power back on, giving the others a chance to swim away and close off the newly-flooded section of the passage -- though not without shorting out the power in the process. This leads them back to Nala Se's private lab, where Tech notes that Omega is, technically, older than the rest of Clone Force 99, much to Crosshair's disbelief. Problem is, the rest of the tunnel has been smashed, preventing them from reaching the Havoc Marauder. If that wasn't enough, AZI's battery cells are depleted and the oxygen levels in the lab are rapidly dwindling.
No shock, Crosshair blames Hunter for their situation after placing his trust in Omega. "That kid saved your life, unlike the Empire who left you for dead,” Hunter fires back, but Crosshair's not having it, insisting the Empire “did what needed to be done" and will eventually control the entire galaxy, admonishing Hunter for making the wrong choice. “Don’t fool yourself. All you’ll ever be to them is a number,” Hunter responds, prompting Crosshair to go off and sit by himself. Omega joins him and talks about being alone until Nala Se created the others, saying she wanted to believe the inhibitor chip made Crosshair the way he is before admitting she was wrong.
Leaving him to do some soul-searching, she and the others find medical capsules that Tech assures they can use to float to the surface, so long as their weight is evenly distributed. Hunter notes they won't have directional control, but Crosshair reluctantly suggests AZI can guide them to the surface. Despite being down to his remote power, AZI agrees, saying his primary objective is Clone Force 99's safety and well-being. The squad sets off explosives around the lab, creating an opening for them to escape to the surface, despite having little to no visibility thanks to the murky water. Moreover, a chunk of debris falls on Omega's capsule, pinning it to the ocean's bottom before AZI rescues her and pushes her to the surface, just as his power runs out.
Omega, never one to leave anyone behind, swims after AZI and is nearly dragged down with him before Crosshair -- after looking like he's about to shoot Hunter -- fires a retractable shot into the ocean, snagging AZI and pulling him and Omega to the surface. They make it back to the Maurader without any further incidents, giving Omega one last chance to forlornly survey the ruins of Tipoca City. Hunter offers Crosshair a chance to come with them, but the latter (with more than a hint of remorse) says he’s made his decision. All the same, Hunter tells him they don't have to be enemies before Omega thanks Crosshair for saving AZI and insists he's still her brother, leaving him to ponder this as they depart.
Last, but not least, "Kamino Lost" ends with a captive Nala Se being transported to an unidentified planet, where an Imperial scientist reveals the Empire has "big things" planned for her. For now, though, that story remains to be told until The Bad Batch returns for Season 2.


