None dare question the organization of Mass Effect's Illusive Man, and after resurrecting Commander Shepard it seems he is fully prepared to send Shepard out on multiple recruitment missions to secure allies in the fight against the Collectors. One might almost suggest the Illusive Man knew far more than he ever let on long before he encountered Commander Shepard. He presented Shepard with numerous dossiers breaking down potential allies and their last-known locations.
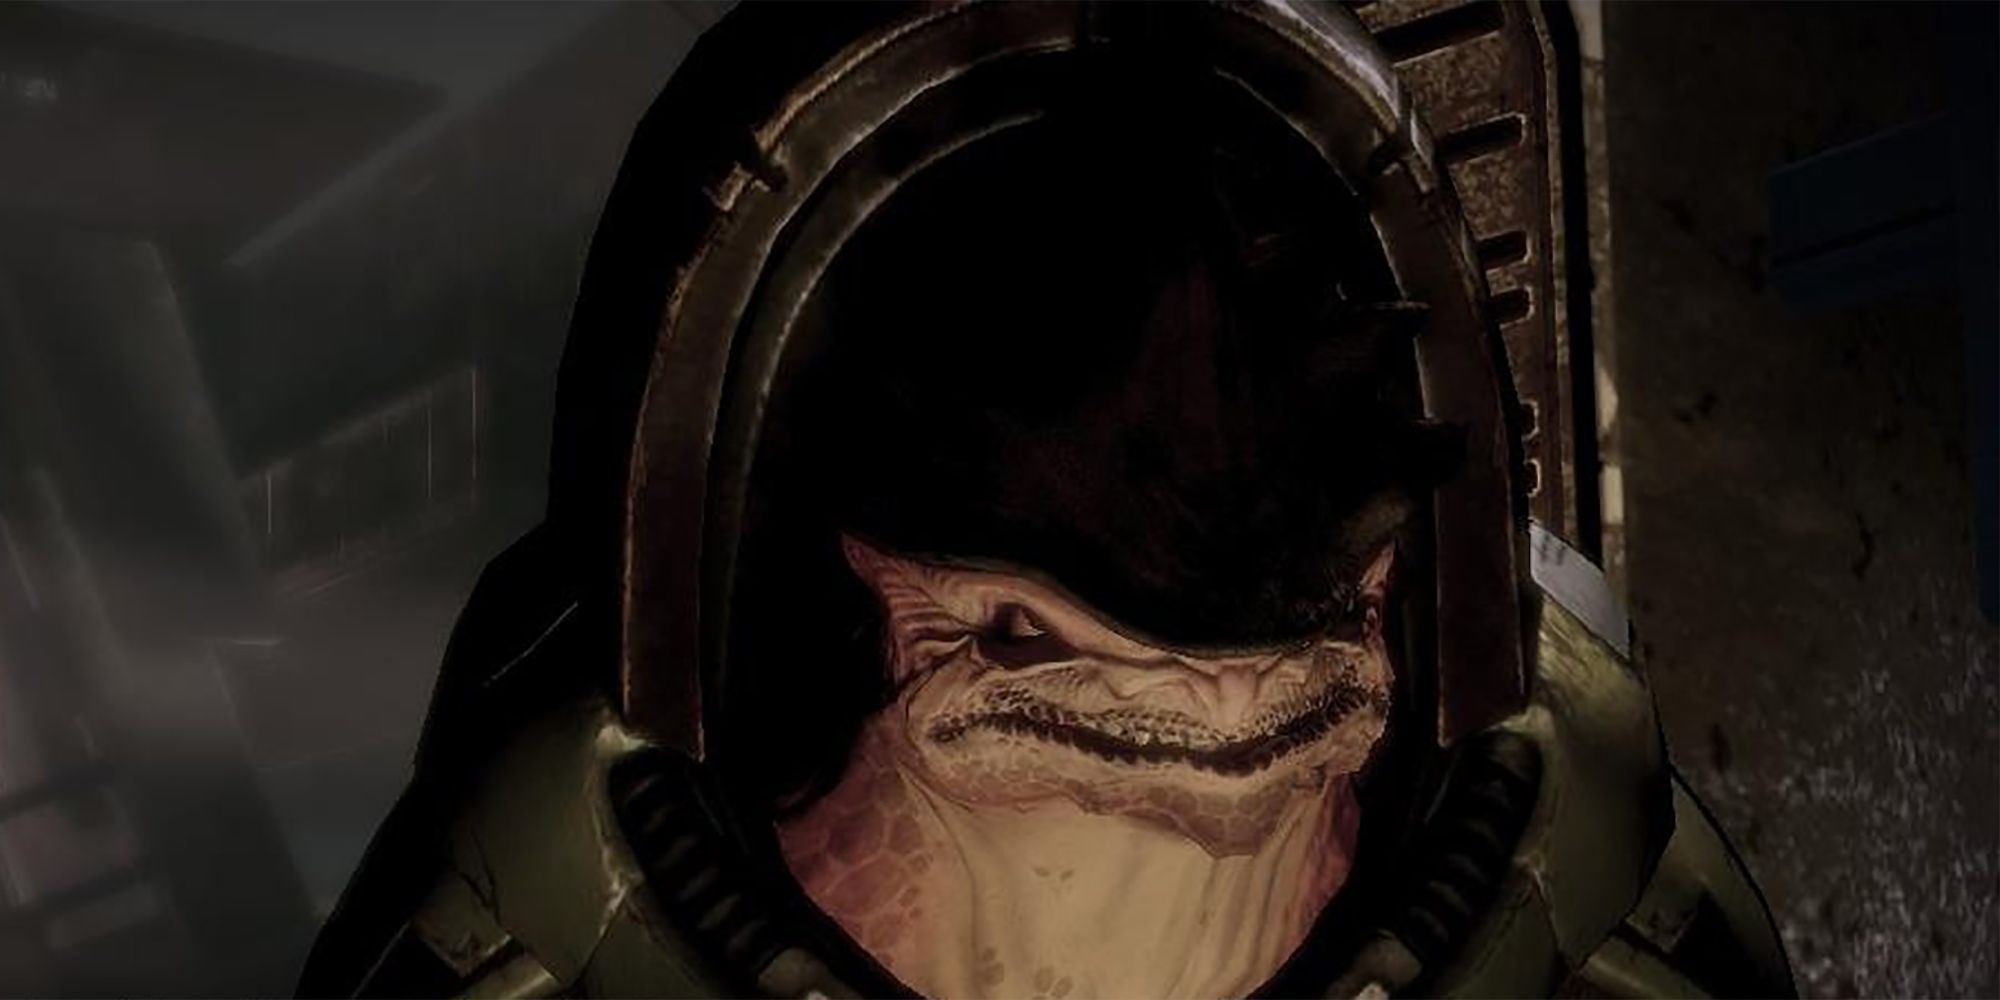
Among the first stack of dossiers the Illusive Man handed over to Shepard was a file on Dr. Okeer, a celebrated Krogan warlord with over a millennia of experience on the battlefield. Shepard's experience with the Urdnot Wrex during the fight against Saren in ME1 proved more than once that having a Krogan on their side is generally a good idea, though there are some crew members who may already be aboard the Normandy SR-2 that might disagree.
MISSION: ARRIVAL ON KORLUS
Upon arrival on Korlus, Shepard takes cover and notes they should assume the locals are hostile. Blue Suns' commander, Jadore, can be heard over the loudspeaker. Moving forward, there are no attacks as the journal updates the mission, but after ascending a set of stairs, there are barriers set up where Shepard can command their squadmates to take cover before the Blue Suns open fire.
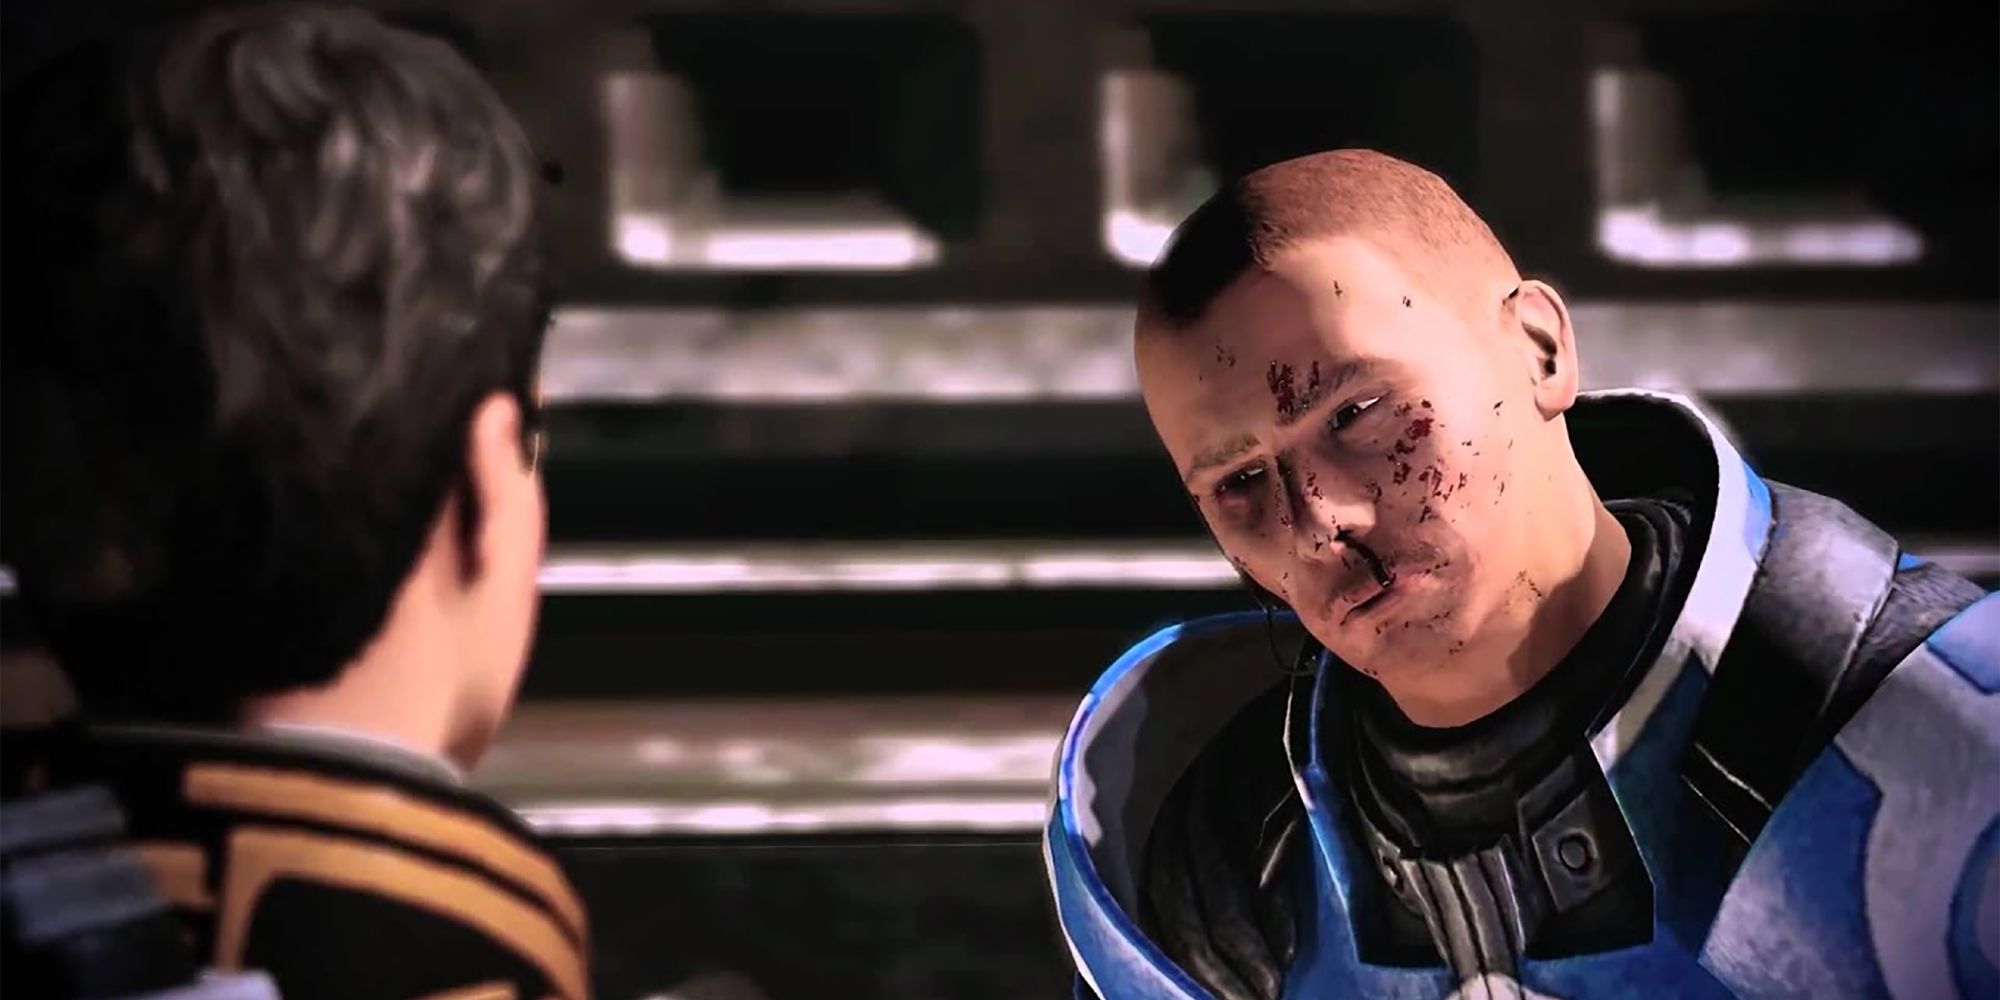
Take out the mercs, head up the stairs and find a wounded mercenary. Talking to him offers a Renegade or Paragon prompt for Shepard, as they ask about Okeer. The merc won't talk, but if Shepard offers Medi-gel, rather than jumping straight in to ask where Okeer is, they will gain +2 Paragon points. Medi-gel gets the merc talking, but he doesn't know much other than that the old Krogan has been cleaning house lately. He says Jadore hired Okeer to make her an army, but the Krogan he creates are insane.
The next opportunity for Renegade or Paragon points arrives when the merc gets a call on his comm. Before persuading or intimidating, however, there is a chance to ask more questions about Okeer. Shepard can either intimidate the merc and tell him to give his teammates bad directions to score +5 Renegade points, or encourage him to get rid of them for +5 Paragon. Either way, Shepard now knows Okeer is up at the lab.
If the merc survives the conversation, Shepard gains +5 paragon points as they move on to the next firefight just over the ridge. The next firefights put enemies in hard to reach places, which makes them perfect for biotic takedowns. Unfortunately, because they are all on overhead walkways, there is very little in the way of ammo drops in this area.
After completing that area, the next one will contain mercenaries with rocket launchers. Make sure everyone stays in cover, ducking out to fire well-aimed sniper shots at mercs on the overhead walkway. After finishing off the mercs, move right and down the stairs to head into the next encounter, and upon completing that, retrieve the Medi-gel below the dirt ramp.
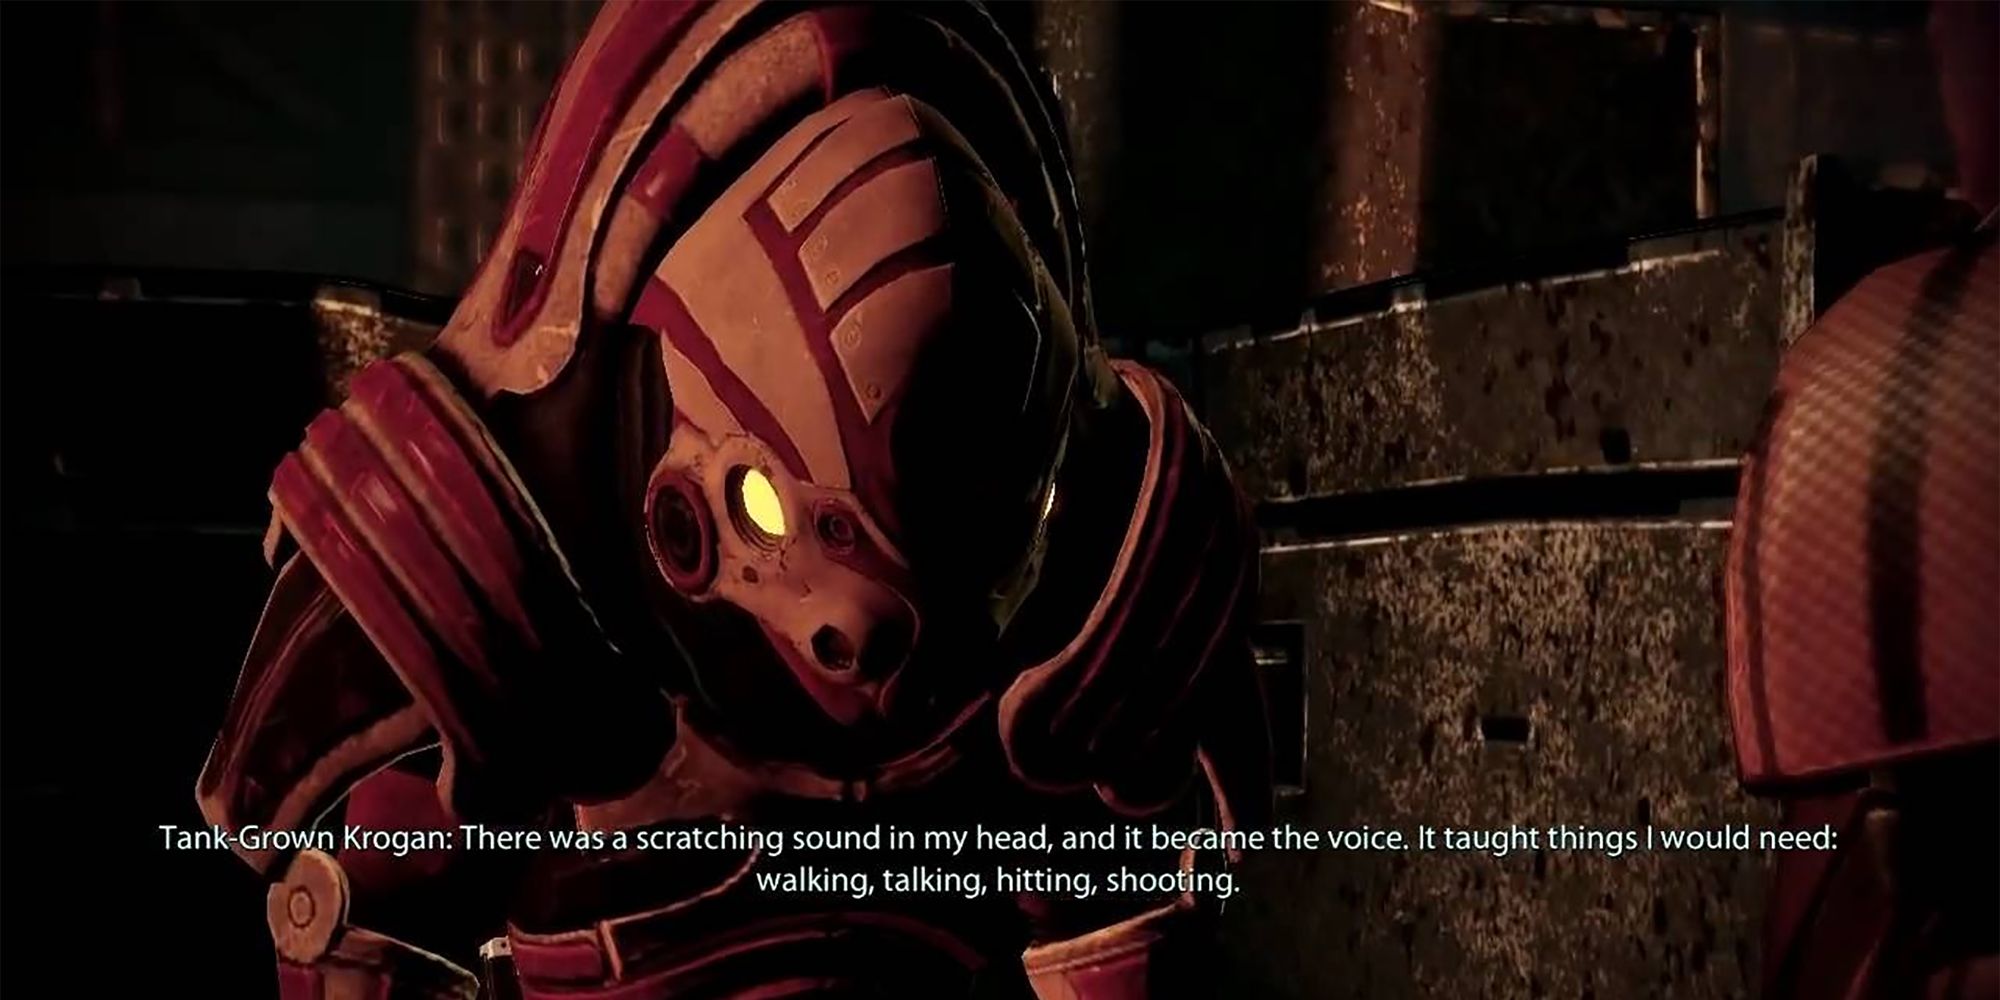
Reaching the end of the ramp, Shepard encounters a lone, tank-bread Krogan. This Krogan is actually friendly, so leave him alone until the mercs overhead have been taken care of, then take a moment to talk to him. He reveals a little more about what Okeer is doing up at the lab, talking about his life in the tank and the teachings of the being he called "father." However, when the father realized he was not perfect, the teachings stopped and he was ejected from the tank. He will actually remove a large, heavy panel blocking the research base so Shepard can pass through but will not accompany them on their journey. Move forward into the research base outskirts.
MISSION: THE RESEARCH BASE
Heading into the research base, the mercs are desperate to take Shepard out, probably because Jadore keeps screaming at them over the loudspeaker. She wants Shepard dead, and her men will do everything they can to make that happen.
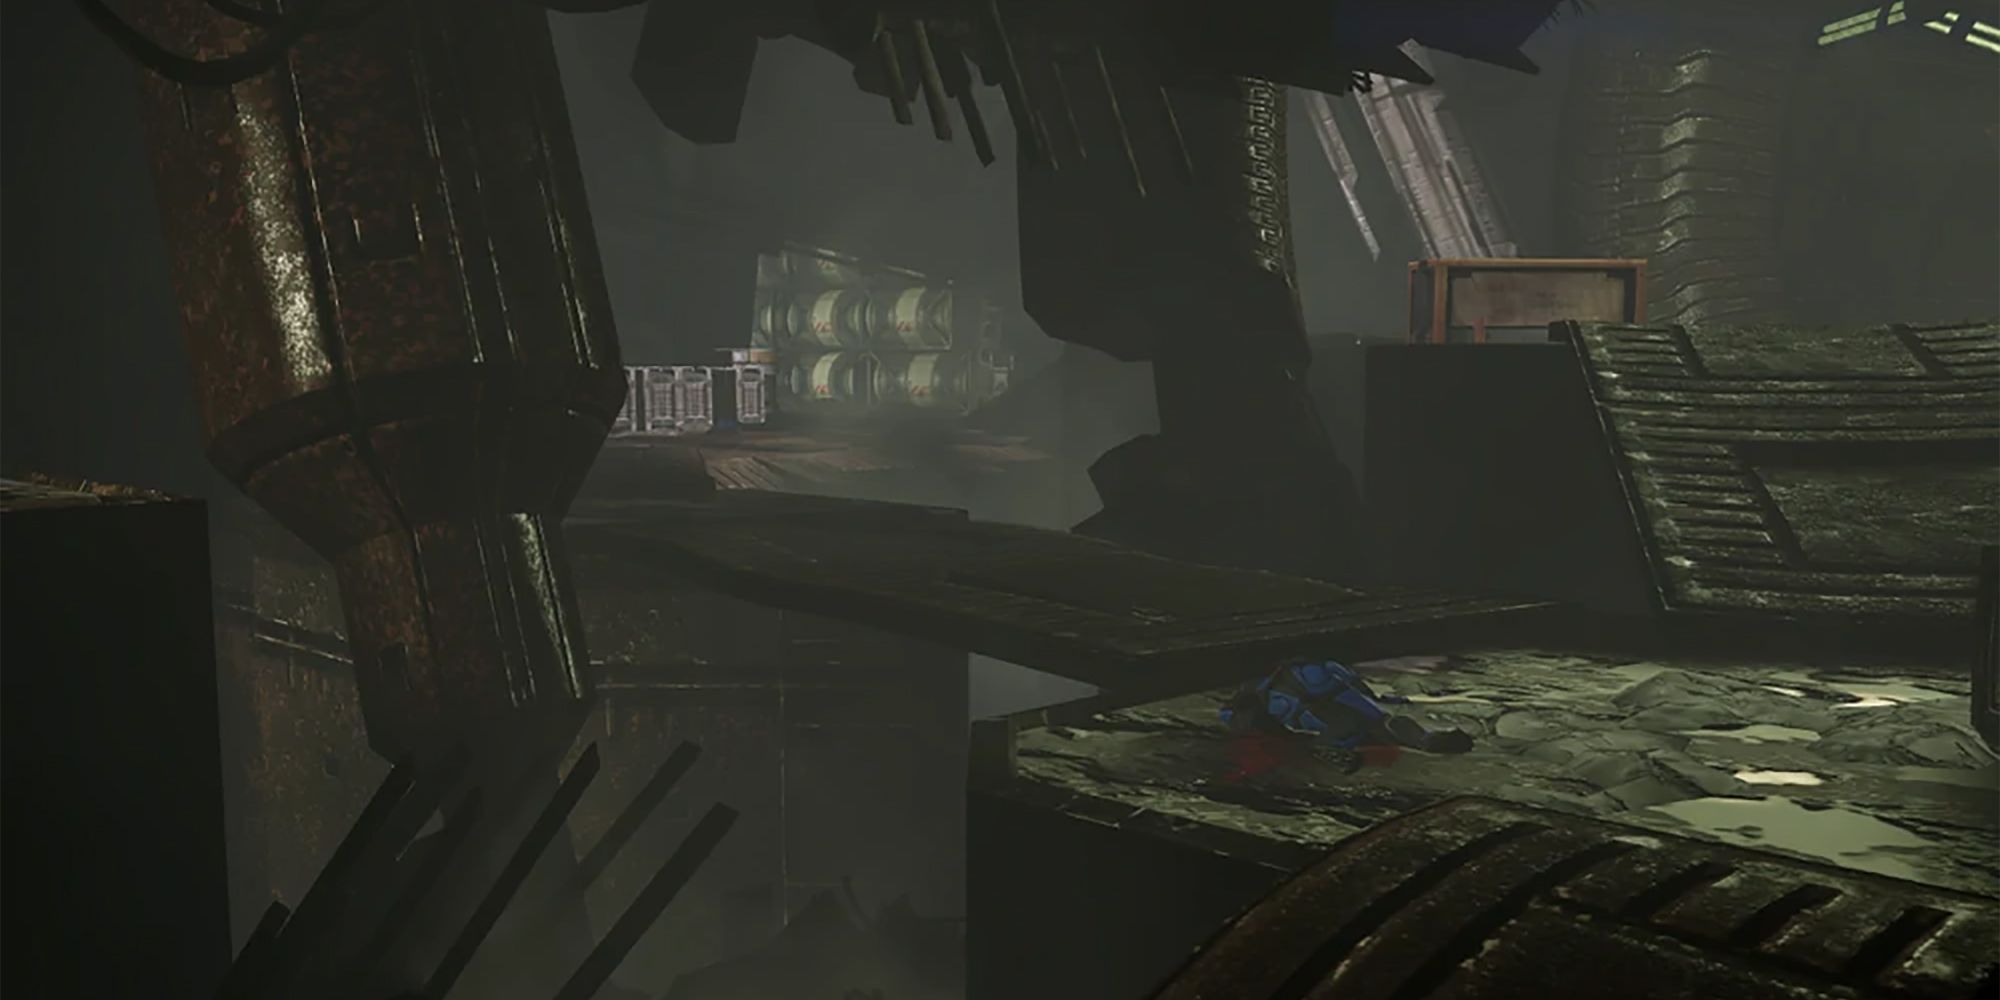
Upon crossing into the research base outskirts, turning right on the path reveals a dead merc on the ground. Grab the credits and move down the path with caution as the sound of incoming mercenaries is a dead giveaway for the attempted ambush. Stopping midway down the path, equip a heavy weapon and take them out as they rush around the bend. Once they've been dispatched, proceed to the bottom of the pathway and take cover before the next wave of enemies, which launches with a new enemy type: the Krogan Berserker. Using the heavy weapon here as well will take out the Krogan quickly and the squad can begin advancing up the walkway.
There are 8-9 Berserkers that need to be cleared out of this area before searching piles of loot and retrieving ammo drops. There is a medkit near the start of the map, and when heading down the ramp that leads to the next area of the facility a dead Turian can be found next to a case of refined platinum. Retrieve the platinum and head up the stairs into the next area.
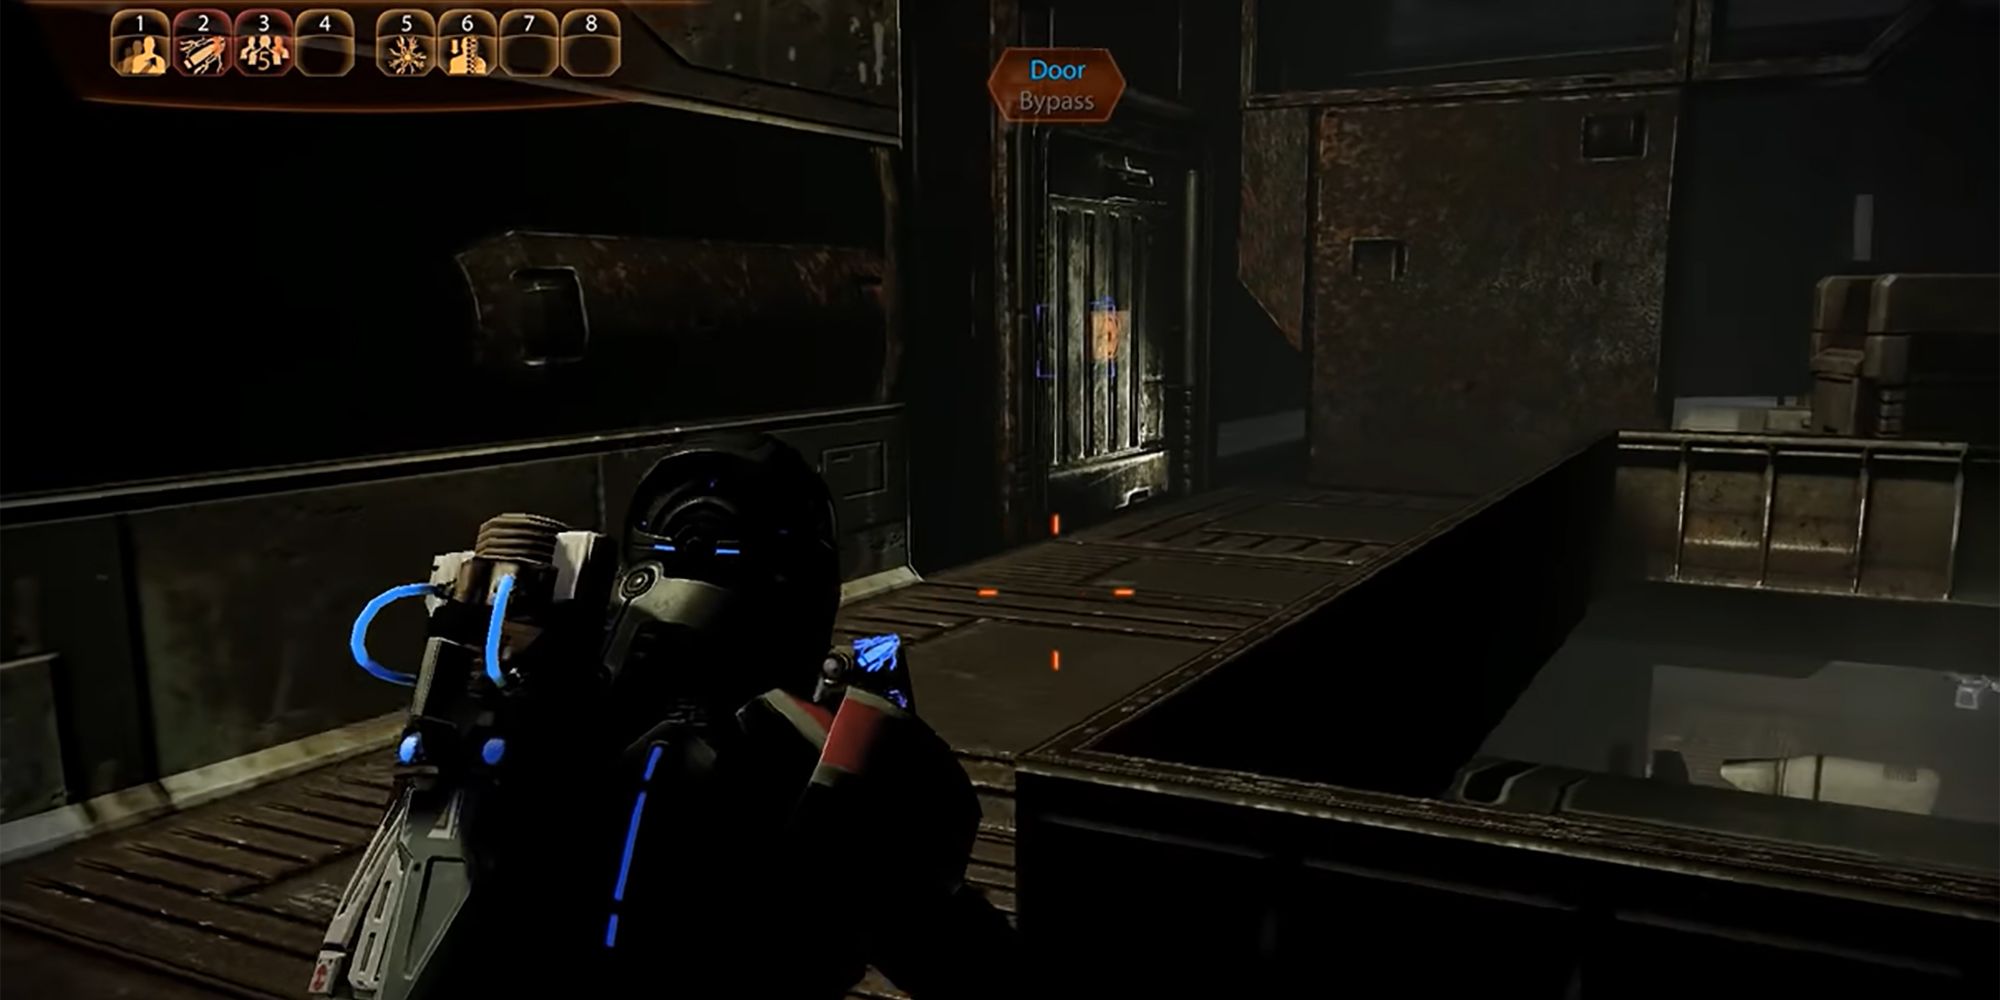
Bypass the lock on the door to the left and walk up the stairs before entering a door on the left. Inside that room is a medkit station and a heavy ammo replenishment chest. In the middle of the room is a dead Blue Suns merc and above the body is a sniper rifle. Scan the rifle for research data on sniper rifle damage. There is an enemy right outside the door that needs to be quickly dispatched before handling the sniper on the opposite walkway. Once those two are taken out, shift focus to the two Blue Suns Heavies firing rocket launchers from the opposite landing. With the way clear, follow the walkway to the left for the next encounter with the Blue Suns.
Once the mercs have been dispatched, comb the area for ammo drops and loot. Advance toward the left hand door, but before entering, turn into the right side alcove and hack the PDA for 4000 credits. Pass through the door and move up the staircases, approaching the final landing with caution, as there are more Blue Suns Legionnaires, Troopers and Heavies waiting at the top.
As the loudspeaker conflict between Jadore and Okeer rises, keep fighting the mercs, making sure to duck over into the left alcove to grab the med kit before finishing off the waves of Blue Suns. Head to the bridge and pick up 2000 credits from the dead merc on the ground. Take cover on the left hand side and pick off the mercs, focusing first on the rocket launchers. With the bridge cleared, pick up ammo drops and advance to the other side to find a heavy weapon case and a safe containing 4000 credits.
Head toward the door to the right, going to the edge of the walkway to hack the PDA on the ground for another 4000 credits. Head up the stairs to the next fight. The lab is nearby, but another batch of mercs await on the platform. Take them out before turning back around to take cover as the next wave of mercs start firing. Work through the mercs before heading forward again and taking cover at the bottom of the stairs. Disposing of them, head up the stairs and take cover so the rocket launchers can be taken care of with the sniper rifle.
MISSION: THE RESEARCH LAB
In the room just outside Okeer's lab, Shepard encounters Rana Thanoptis, but only if they didn't shoot her for her crimes. Engaging in conversation with her reveals a little about Okeer's plans and an opportunity for Paragon or Renegade points. Asking what she's doing there grants +2 Paragon, while noting that everyone on Virmire should be dead grants +2 Renegade.
Shepard can ask her to explain Okeer's work, and allowing her to leave after she answers will grant Shepard +2 Paragon points, but telling her to get out of the way rewards +2 Renegade points. After she leaves, hack the terminal for +4000 credits, grab the medi-gel from the station and advance to the door leading into the lab.
Okeer reveals that he's been watching Shepard's progress and it's been taking too long. If Shepard replies with "Okeer, I presume," it gives +2 Paragon, while telling him to watch his tone will give +2 Renegade. Shepard's response to Okeer's reminiscence on Virmire is tied to +2 Paragon/Renegade points, the former being offered by admitting it was a tough choice, and the latter coming with the more aggressive, "I did what I had to do." Okeer confesses his approval for Shepard's choice, which leads to revelation about creating the perfect Krogan.
When asked about the Collectors, he says he gained the knowledge to create a single purebred Krogan soldier. Here Shepard can ask about his research and the Collectors before asking him to join them, but Okeer won't go anywhere until Jadore has been dealt with and he won't sacrifice his perfect prototype. Jedore is heard over the loudspeaker telling her men to flush the tanks, at which point Okeer tells Shepard they must take care of her and save his legacy if they want his help.
Before going through the door to battle Jedore and her Mechs, hack the laboratory terminal by the door to gain the Krogan Vitality research upgrade. Head outside and down the stairs to pass through another door that leads to the tank-bred Krogans and Jadore. Take cover immediately, as an YMIR Mech, Jadore and four Krogan Berserkers start firing on Shepard and their squad. Once the Berserkers have been taken out, shift focus to killing Jadore before turning attention to the Mech. With Jadore and the Mech out of the picture, EDI informs Shepard that the lab alarms coincided with a systems failure, causing the remaining lab systems to become unprotected. She has limited access to the systems, and Shepard needs to hurry back to Okeer.
Entering the lab again, Okeer is dying, and he confesses that if he had information about what the Collectors wanted with the humans, he would share it. However, everything he gained from the Collectors lies inside his legacy. If you choose to take the tank, it will be transported to the Normandy to be fully examined.
MISSION: OPEN THE TANK
Back on the Normandy, Miranda and Jacob debrief with Shepard about the mission. Miranda agrees that having the tank for research purposes could be useful, but advises against waking the Krogan inside. Jacob disagrees, and as Shepard walks in, they can gain +2 Paragon points by calming everyone with a reminder that the tank is still sealed, though they aren't sure yet what they will do with it. Shepard can gain another +2 Paragon by pointing out that they'll be careful, or sacrifice the Paragon option by asking EDI how quickly the cargo hold could be vented in an emergency. Another opportunity is presented if the second option is taken, Paragon through saying they'll be careful, or +2 Renegade for claiming anyone else in the cargo hold at the time would be replaceable.
Go down to the cargo hold to inspect the tank. Before deciding to unleash Okeer's Legacy, Shepard can ask EDI questions about the Krogan within, his awareness, his threat level and any odd things she may have detected in the tank. From there, Shepard must decide to either open the tank or keep it sealed.
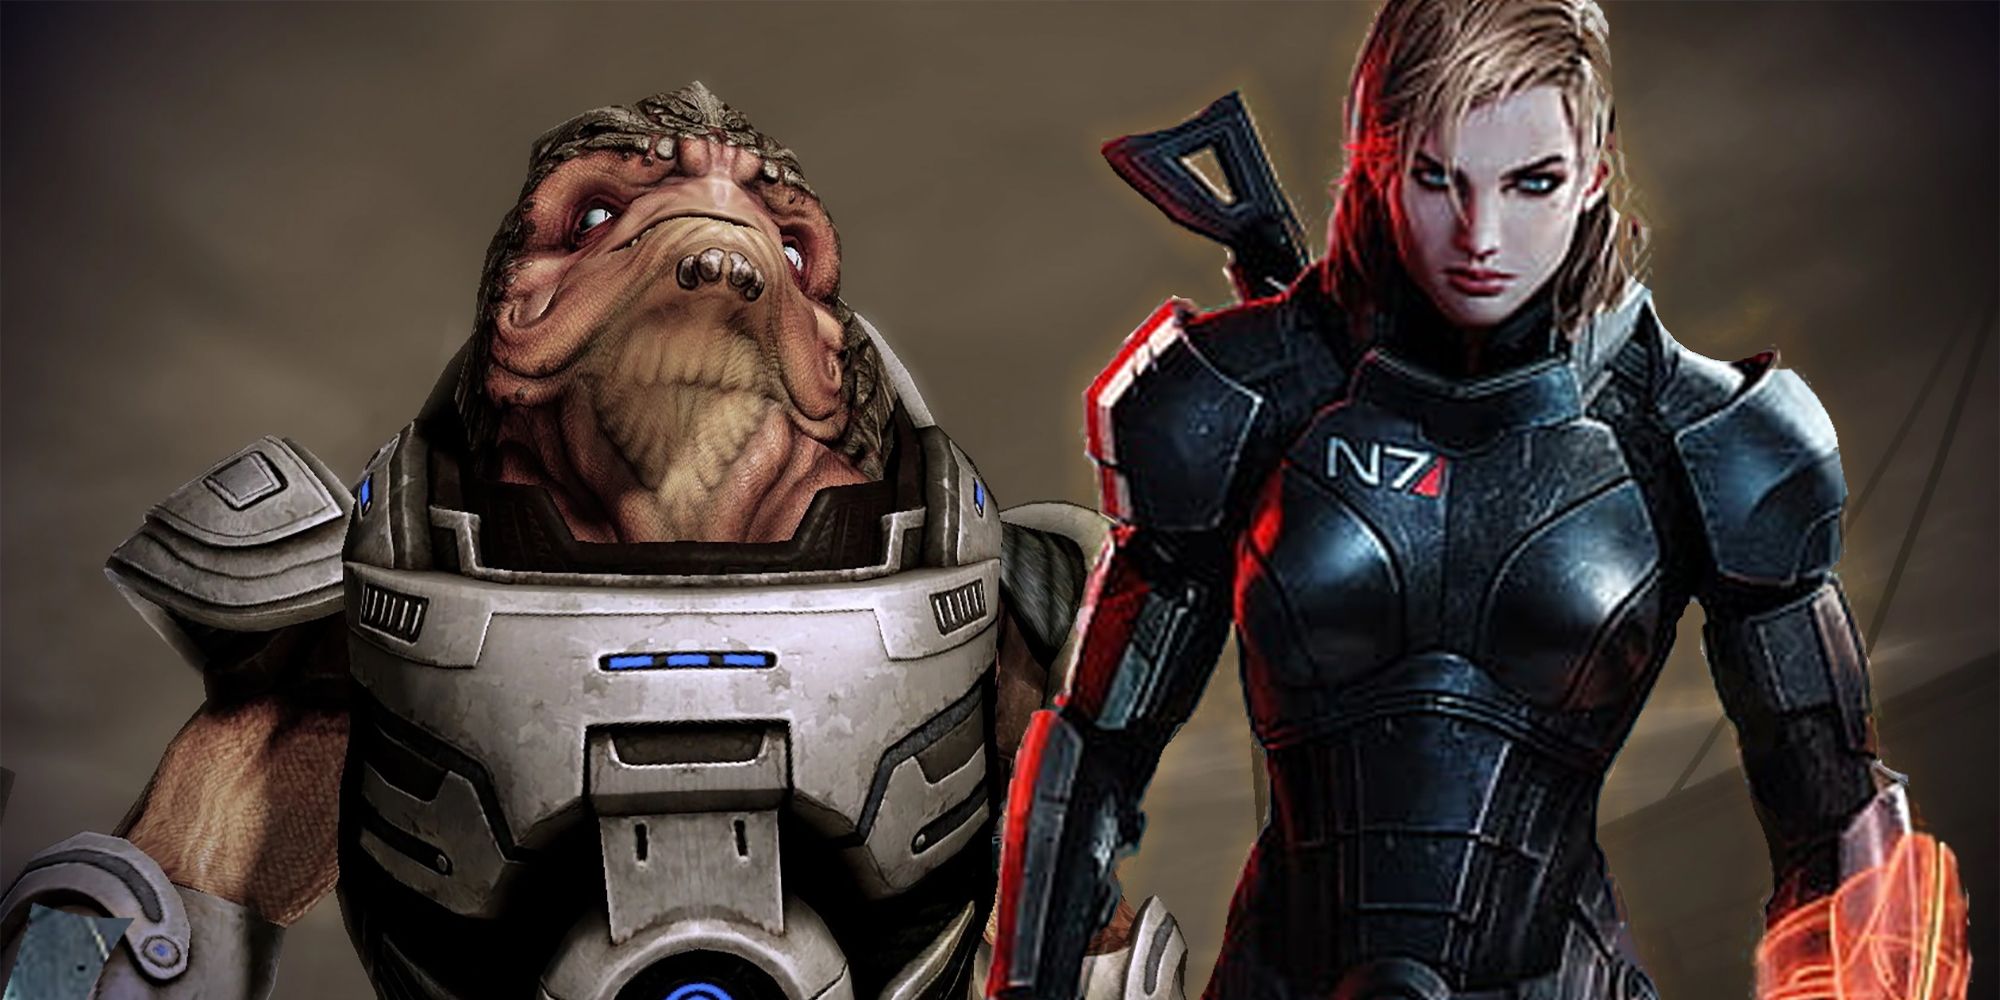
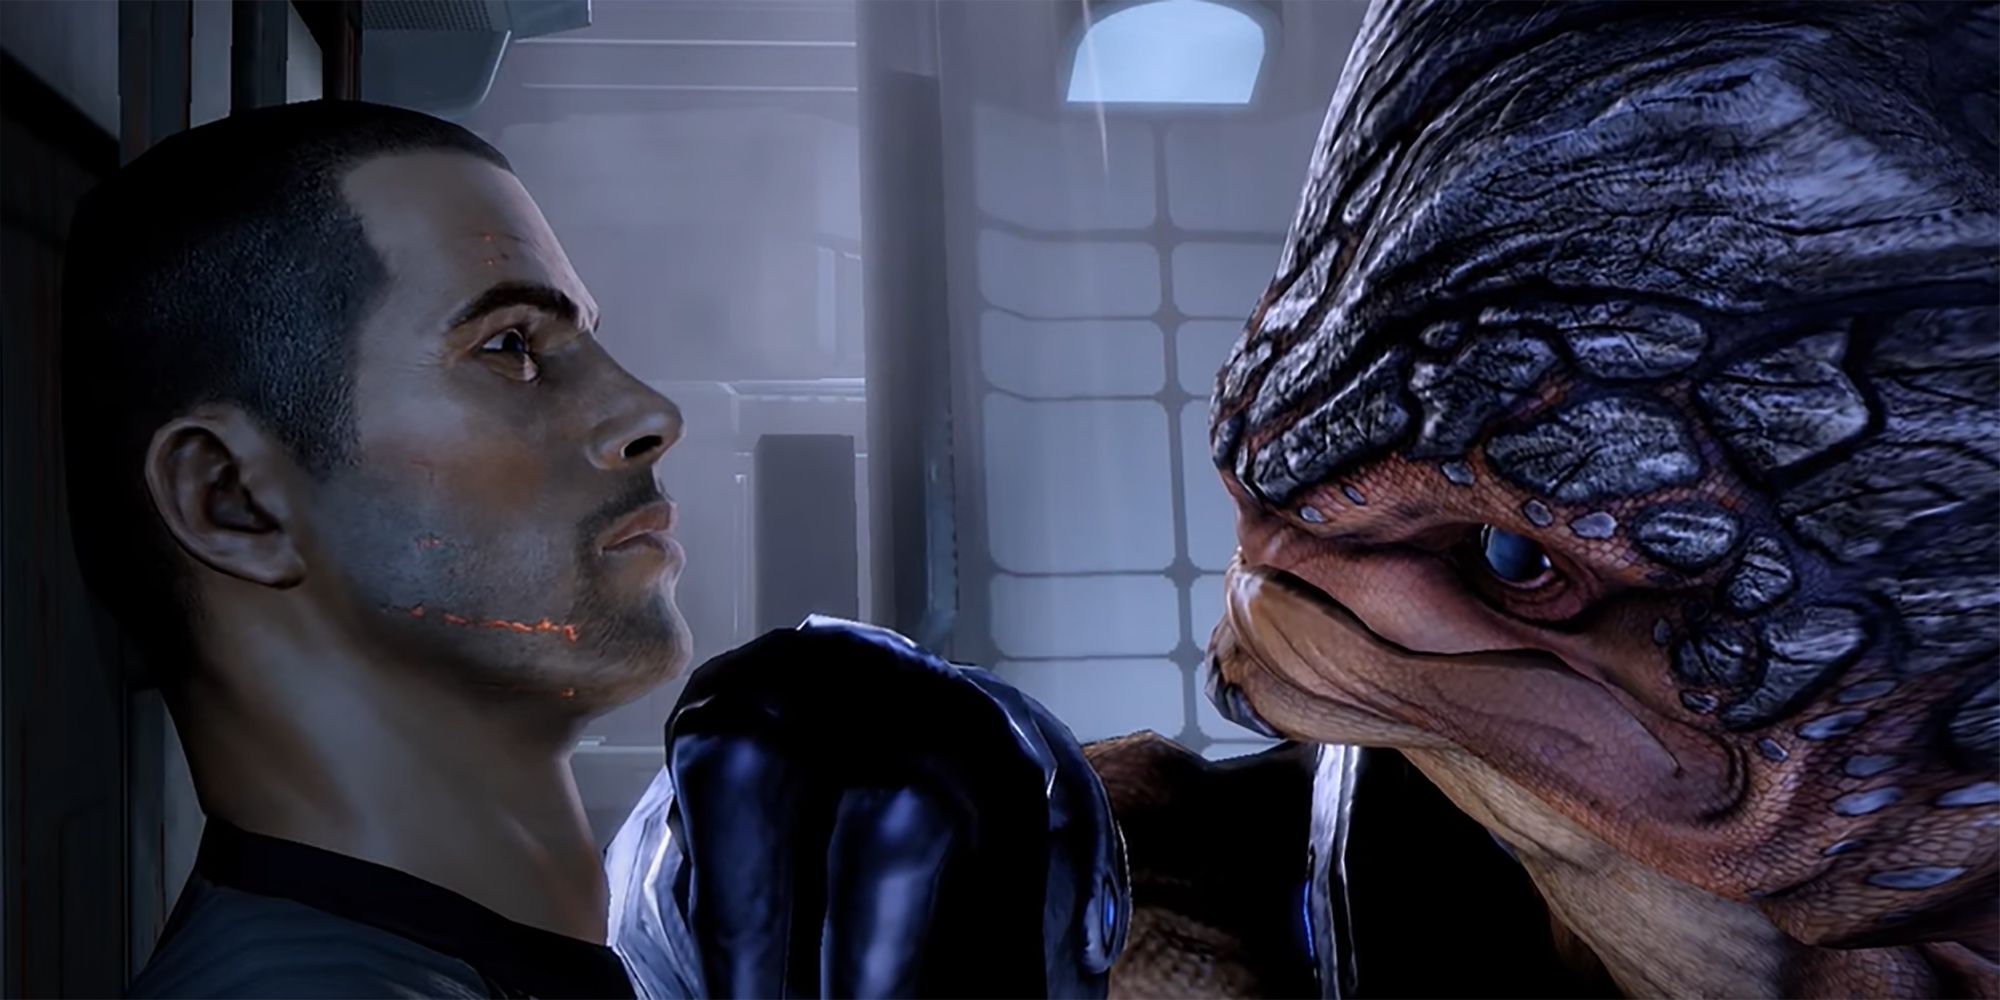
Deciding to open the tank, EDI reminds Shepard of Cerberus protocol when it comes to alien tech, but Shepard can gain +2 Paragon points by pointing out he's too valuable to keep locked up, or +2 Renegade for telling EDI to keep her thoughts to herself. Opening the tank, the Krogan takes a moment to clear its head before charging Shepard and pinning them to the wall. He tells Shepard that before he kills them, he needs a name. Shepard can gain +2 Paragon choosing the "you'll get more than that" option. After Shepard introduces themselves, the Krogan says it is he who needs a name and begins rambling about the tank and Okeer's words, repeating the word "grunt" until deciding that must be his name. He also reveals that he feels no connection to Okeer or his clan, suggesting the imprint failed, and then challenges Shepard to a fight.
Shepard can gain +5 Paragon points by inviting Grunt to join their crew and search for his greater purpose, or +5 Renegade through intimidation and telling Grunt, "my command is your reason." Grunt's acceptance to join Shepard successfully completes the mission to Recruit the Krogan.

